
Aquarium Water Testing Mistakes: The 5 Most Common Errors and How to Avoid Them
Hello fellow fish keepers. I know that feeling-you’re diligently testing your water, but your fish still seem stressed, or algae is taking over, and you can’t figure out why. The problem often isn’t with testing itself, but with the small, easy-to-miss mistakes we make during the process.
This guide will walk you through the key pitfalls that can throw off your results and your tank’s health. We’ll cover:
- Why “test strip shock” gives you misleading readings
- The crucial timing mistake almost every beginner makes
- How to properly interpret those confusing color charts
- The one piece of testing equipment you’re probably forgetting to clean
- A simple cheat sheet for tracking your parameters correctly
My advice comes from years of hands-on experience maintaining crystal-clear planted systems and breeding sensitive fish like bettas and corydoras.
1. Test Kit Troubles: Choosing and Using Your Tools Wisely
Picking Between Strips and Liquid Tests
Standing in the aquarium aisle, you might grab the fastest option, but that quick choice can lead to slow-motion problems in your tank. I learned this with Captain Fin; his feisty nature demands precise water quality. Test strips offer convenience, but liquid reagent kits deliver the accuracy you need for life-or-death parameters like ammonia and nitrite. Essential aquarium water testing kits—use them to monitor these and other critical water parameters. Making testing a routine helps you catch issues before they become emergencies.
This table lays out the real differences to guide your choice.
| Type | Pros | Cons |
|---|---|---|
| Test Strips | Extremely fast; simple dip-and-read process; affordable for frequent checks. | Prone to humidity damage; color charts can be hard to read; often less sensitive to low-level toxins. |
| Liquid Test Kits | Superior accuracy for ammonia, nitrite, nitrate, and pH; consistent results; better for troubleshooting. | More steps involved; chemicals have shorter shelf life; initial cost is higher. |
For my messy Goldie, I only trust liquid tests because a slight ammonia creep is a crisis for goldfish. Think of strips as a glance at the weather and liquid kits as a full meteorological report for your underwater world.
Avoiding Expired or Poorly Stored Kits
An old test kit is like a compass that points the wrong way-it gives you confidence but leads you astray. Heat and light degrade those tiny bottles of chemicals silently. Expired reagents can show zero ammonia while your fish are actually swimming in a toxic soup.
Follow these steps to ensure your kit stays truthful.
- Always note the expiration date on the box when you buy it, and write the purchase date on the bottles.
- Store your kit in a cool, dark drawer, never above the fridge or near a sunny window.
- Keep bottle caps screwed on tightly to prevent evaporation and contamination from air.
- Test your tap water periodically as a baseline; if readings seem off, suspect the kit first.
I once blamed my filter when Shadow hid for days, but a new test kit revealed the problem was an old nitrate bottle giving false lows. Proper storage is a non-negotiable habit, not just a box-checking task.
The Calibration Solution Secret
If you use a digital pH or TDS meter, calibration solutions are your truth serum. These are precisely mixed liquids with a known value that tell your device how to read correctly. An uncalibrated meter is just a fancy, expensive guess, and your plants and fish pay the price.
Verifying your tool’s accuracy is simple and fast. Here is how you do it.
- Get two calibration solutions that bracket your tank’s range, like pH 7.0 and pH 10.0 for most freshwater setups.
- Rinse the electrode with distilled water, then gently blot it with a soft paper towel.
- Immerse the probe in the first solution, wait for the reading to stabilize, and adjust the meter to match the solution’s value.
- Repeat with the second solution for a two-point calibration, which is more reliable.
In my planted tanks, I calibrate every month because stable pH supports lush growth and fish like Shadow who crave consistency. This five-minute ritual guarantees the numbers you see reflect the true clarity of the water your fish call home.
2. The Sampling Slip-Up: How to Collect Water Like a Pro
Perfect Sampling Technique
How you scoop water changes everything. A sample from the surface film tells a different story than one from the gravel bed. You need a clean sample from the tank’s heart to get an honest read on your ecosystem’s health.
Use this step-by-step method to collect water like a lab technician.
- Wash and rinse a dedicated glass or plastic vial only used for aquarium testing; soap residue is a common contaminant.
- Submerge the vial opening halfway down into the water column, away from filter outputs and decorations.
- Fill it slowly to avoid sucking in debris from the substrate or protein scum from the surface.
- Sample at the same time each day, ideally before morning feeding, to track consistent trends.
- Let the sample sit for a minute to match room temperature if you are testing pH or KH.
I do this for Captain Fin’s tank because bettas are sensitive, and consistent timing helps me notice subtle shifts. Think of your sampling vial as a camera-you want a clear, focused shot of the entire scene, not a blurry corner.
Common Contamination Culprits
Your hands, your tools, and even your good intentions can dirty a perfect water sample. These invisible errors cause false readings that send you on wild goose chases. Testing immediately after adding dechlorinator is a top mistake, as some brands bind ammonia temporarily and mask real danger.
Watch out for these frequent contamination culprits in your routine.
- Testing after water changes: Wait at least 2 hours after adding water conditioner to test for ammonia or chlorine.
- Skin oils on test tubes: Always handle tubes by the rim, or use gloves if you have lotion on your hands.
- Sampling from the top or bottom: Surface oils and substrate waste concentrate pollutants and don’t represent bulk water.
- Using a dirty vial: Rinse your sampling vial with tank water, not tap water, before each use to remove residual particles.
With Goldie’s tank, I once saw a nitrate spike that was just disturbed mulm from the gravel; a clean mid-water sample told the true story. Avoiding these slip-ups keeps your testing honest and your fish thriving in their crystalline environment.
3. The Interpretation Illusion: Reading Colors and Numbers Right
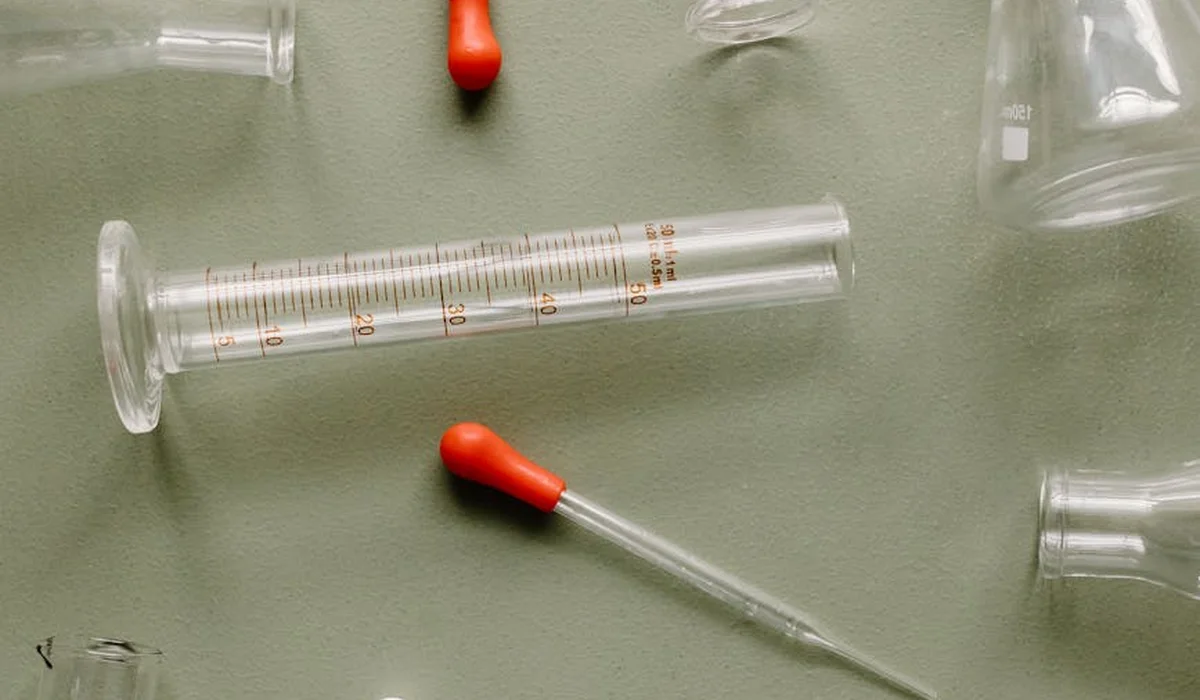
You’ve done the test, but the hardest part might still be ahead: figuring out what the colors mean. Misreading a test result is incredibly easy, and it can send you scrambling to fix a problem that doesn’t exist, or worse, make you miss a real one.
Decoding the Color Chart
That little color card isn’t always your friend. Our eyes and lighting play tricks on us, turning a safe reading into a panic-inducing one. I’ve stared at pH tests until my eyes crossed, convinced the tank was acidic when it was fine.
For the most accurate read, always view your test tube against the white background on the kit in bright, natural daylight. Artificial room lights, especially yellow-toned ones, will distort colors. If you’re truly unsure, ask a friend or family member for a second opinion-a fresh pair of eyes sees objectively.
Common Color Misreads
- Ammonia (Yellow-Green): That very pale, almost-zero green can look identical to pure yellow in poor light. Hold it right against the white.
- pH (Neutral Range): Distinguishing between 7.2, 7.4, and 7.6 is tough. Look for the hue (blue-green vs. green-yellow) more than the exact shade.
- Nitrites (Light Pink): The faintest blush of pink means nitrites are present, not “almost zero.” Any pink is a red flag in an established tank.
- Nitrates (Orange-Red): The difference between a safe 10 ppm (orange) and a dangerous 40 ppm (red) is clear, but the mid-range oranges can blur.
Mixing and Waiting: Following Instructions Exactly
Treat your test kit like a science experiment, because it is. Each step has a purpose. Shaking reagent bottle #2 for nitrate tests isn’t a suggestion; you need to dissolve crystals that settle at the bottom. If you skip that vigorous 30-second shake, you’ll get a false low reading and think your nitrates are under control when they’re sky-high.
Timing is everything. For ammonia tests, you must wait the full five minutes for the full color development. Checking at three minutes because you’re in a hurry will give you an inaccurate, often lower, result. Set a timer on your phone for every test.
Knowing Your Fish’s Perfect Parameters
A pH of 7.8 isn’t a “bad” number-it’s perfect for African cichlids but stressful for a betta. Your goal isn’t a generic “perfect” water, but water that’s perfect for your inhabitants. Testing is meaningless without context, and that context is the natural parameter range your fish evolved to thrive in.
| Fish | Ideal Temperature | Ideal pH Range | Key Parameter Note |
|---|---|---|---|
| Betta (like Captain Fin) | 78-80°F | 6.5 – 7.5 | Prefers softer, slightly acidic water. |
| Goldfish (like Goldie) | 68-74°F | 7.0 – 8.4 | High waste producers; watch ammonia closely. |
| Corydoras (like Shadow) | 72-78°F | 6.0 – 7.8 | Needs very low nitrates; sensitive to poor water. |
| Neon Tetra | 70-81°F | 6.0 – 7.0 | Requires extremely stable, soft acidic water. |
4. The Frequency Fumble: When and How Often to Test
Testing only when fish look sick is like only checking your car’s oil after the engine starts smoking. Consistent, scheduled testing is your early-warning radar system, catching invisible problems long before they become emergencies. Regular checks of essential parameters—ammonia, nitrite, nitrate, pH, temperature, and dissolved oxygen—help you catch trouble before it harms fish. You can learn more about these tests in our article on Regular checks of essential parameters. A monitor or test kit turns water quality into actionable data. The hum of your filter might sound steady, but only a test tells you the true story of the water.
Setting a Smart Testing Schedule
Your tank’s age dictates your testing rhythm. A brand-new tank is a unpredictable frontier, while an established one is a settled ecosystem. Here’s a straightforward schedule I follow with my own tanks:
- Cycling a New Tank: Test for Ammonia and Nitrite daily. You are tracking the growth of your bacterial colony. This data is your only proof of progress.
- Established Tank (First 6 Months): Test all key parameters (pH, Ammonia, Nitrite, Nitrate) once per week, ideally before your weekly water change. This builds a history of your tank’s normal baselines.
- Mature Tank (6+ Months, Stable): You can often shift to a bi-weekly check for Nitrates and pH,
- After Any Major Event: Always test 24-48 hours after: a large water change, adding new fish, treating with medication, or changing filter media.
Infrequent testing lets problems like a slow pH creep or rising nitrate buildup go completely unnoticed until plants die back or fish get lethargic.
Benchmarking Your Tap Water
This is one of the most powerful and overlooked steps in aquarium keeping. You must know exactly what is in the water you are adding to your tank before it ever touches the tank. Your tap water is the foundation. If it contains chlorine, chloramine, or has an extreme pH, every water change is an unwitting shock to your fish. To prevent pH shock during water changes, test and adjust the new water to match your tank’s pH. Doing so avoids stressful swings for your fish.
Here’s how to benchmark: Fill a clean glass with tap water and let it sit, uncovered, for 24 hours. This allows gases to dissipate. Then, test it for pH, GH, KH, and use a chlorine/chloramine test strip. Write these numbers down and keep them with your kit. Now you have your baseline. Any change in your tank’s parameters is coming from inside the tank itself, giving you a huge clue in diagnosing issues. This is an essential step when managing aquarium water parameters.
5. Freshwater vs. Saltwater: Avoiding the Test Type Mix-Up
Key Parameter Differences
Think of freshwater and saltwater testing as different languages for your aquarium’s health. Saltwater tanks live and die by salinity, measured with a hydrometer or refractometer, aiming for 1.023 to 1.025 specific gravity. Freshwater systems, like Captain Fin’s betta home, pivot on KH (carbonate hardness) and GH (general hardness) to buffer pH and support fish scales. Grabbing a freshwater nitrate test kit for a saltwater tank is a common error that yields misleading numbers because the chemical interactions aren’t the same. These key differences in water chemistry explain why testers and targets vary between setups. Understanding what matters most in each system helps you choose the right test kits and interpret results correctly.
My goldfish Goldie needs a GH of 100-200 ppm and KH of 70-140 ppm for his buoyant foraging, while a marine tank ignores those for salinity checks. Always double-check your kit’s label-using the wrong one is like trying to measure flour with a liquid cup.
Species-Specific Testing Focus
Your testing focus should shift with your tank’s residents. Freshwater shrimp, like Neocaridina, demand precise GH (6-8 dGH) and KH (3-5 dKH) for successful molting. A vibrant reef tank, however, requires weekly calcium (380-450 ppm) and alkalinity (8-12 dKH) tests to sustain coral growth. Matching your test regimen to your inhabitants prevents invisible stress that shortens lifespans.
Here is a quick guide to what parameters matter most:
- Freshwater Community Tanks: Test ammonia, nitrite, nitrate, pH, KH, GH. Shadow the corydoras needs stable KH to feel secure while scavenging.
- Saltwater Fish-Only Tanks: Prioritize salinity, ammonia, nitrite, nitrate, and pH.
- Reef or Coral Tanks: Add calcium, alkalinity, and magnesium to your routine list.
- Shrimp or African Cichlid Tanks: GH and KH are non-negotiable for their skeletal and shell health.
This tailored approach stops you from wasting time on irrelevant tests and missing critical alerts.
6. Keeping Your Kit Honest: Maintenance and Records
Test Kit Hygiene and Care
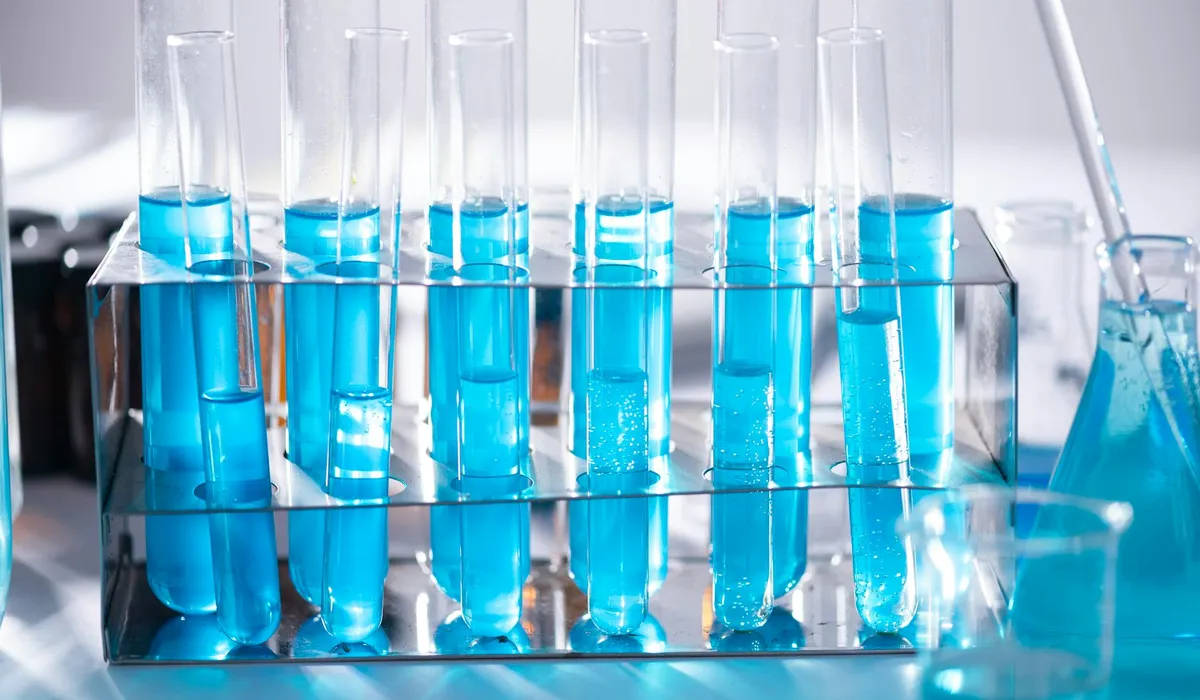
A poorly maintained test kit lies to you. After each use, rinse glass vials with distilled water—tap water can leave residue—and dry them thoroughly to prevent algae or bacterial films. Screw reagent caps on tightly to avoid evaporation or moisture contamination from your fish room’s humid air. Cross-contamination between bottles, like using the same dropper for nitrate and pH tests, is a fast track to false readings. Used correctly, test kits are how you maintain proper water parameters in your aquarium. Regular, accurate readings help you catch problems early and protect your aquatic life.
I dedicate a small, clean towel to wiping my test tubes and store all kits in a dark cabinet away from heat. These five minutes of care protect your investment and ensure the numbers you see are real.
The Power of a Testing Log
Jotting down results in a simple notebook or a free app transforms guessing into science. Record ammonia, nitrite, and nitrate weekly, plus pH and temperature, to visualize trends. When I logged tests for Goldie’s tank, I spotted a gradual nitrate rise weeks before it clouded the water. A consistent log reveals slow-motion disasters, letting you act before your fish gasp at the surface.
Note any tank events, like adding new plants or feeding changes, next to your readings. This history helps pinpoint causes, such as a pH crash after decor alteration. That written timeline becomes your most trusted tool for maintaining crystal-clear water and happy fish. It’s also the backbone of the ultimate aquarium problem solver step-by-step diagnostic checklist. Use it as the first step in any diagnostic routine.
FAQs
What are the most common mistakes people make when testing aquarium water?
Common mistakes include relying on less accurate test strips for critical parameters like ammonia, using expired or poorly stored test kits, and collecting water samples from unrepresentative areas of the tank. Misinterpreting color charts under poor lighting and testing too infrequently also lead to overlooked water quality issues. Avoiding these errors ensures accurate monitoring and a healthier environment for your fish — especially when you know what to do if your aquarium water tests show dangerous levels.
How can using stale test kits lead to incorrect results?
Stale test kits have reagents that degrade over time, especially when exposed to heat or light, causing them to react improperly with water samples. This can produce false readings, such as indicating safe ammonia or nitrate levels when toxins are actually present. Always check expiration dates and store kits in cool, dark places to maintain reliability and protect your fish from hidden dangers.
Why is it important to follow test kit instructions exactly?
Test kit instructions, such as shaking reagents or waiting specific times, ensure chemical reactions complete accurately for precise color development. Skipping steps, like not shaking nitrate bottles, can lead to false low readings, while cutting wait times may underestimate toxin levels. Following directions meticulously prevents misdiagnosis and helps you take correct actions to maintain stable water conditions.
How do improper water sampling techniques cause inaccurate readings?
Improper techniques, like sampling from the surface film or gravel bed, concentrate pollutants and fail to represent the tank’s overall water chemistry. Contamination from dirty vials, hands, or testing immediately after water changes can also skew results. Always use a clean vial to collect mid-water column samples for honest assessments that guide effective maintenance. Using essential water testing equipment helps ensure accurate readings and reliable trends. This supports maintaining healthy aquarium parameters.
Your Path to Pristine Water
The clearest path to success is making water testing a consistent, careful habit. Always follow your kit’s instructions to the letter and log your results to spot trends before they become emergencies. For newcomers, a test your aquarium water properly step-by-step guide can walk you through each measurement. Keep that guide handy as you test and log results to maintain steady water quality.
Great fish keeping is built on this proactive attention to your tank’s invisible chemistry. Your commitment to learning and consistent care is what transforms a glass box into a thriving, shimmering ecosystem.
Further Reading & Sources
- 10 Common Water Testing Mistakes Reefers Make – Bulk Reef Supply
- 10 Common Water Testing Mistakes Reefers Make – YouTube
- How (and How Often) to Test Aquarium Water for Healthy Fish and Plants – Aquarium Co-Op
- Water Testing in Your Freshwater Aquarium – RateMyFishTank.com
- Aquarium water test kits and testing methods
Lia is an expert in aquarium and pet fish care. Having worked in the marine industry and having cared for multiple pet fish, she has acquired first hand expertise on aquarium care, maintenance and setup. She always brings her practical expertise and science to help solve any aquarium related queries.
Water Quality