
Aquarium Water Testing Decoded: Your Straightforward Path to a Healthier Tank
Hello fellow fish keepers! That nagging worry about your water quality-whether it’s for Goldie’s constant foraging or the clarity of your planted scape-is completely normal. Mastering a simple testing routine is the fastest way to swap that anxiety for confidence and a visibly thriving aquarium.
This step-by-step guide cuts through the confusion and covers the key aspects you need:
- The non-negotiable water parameters you must check regularly, and why
- Choosing the right tool for the job: liquid test kits vs. strips vs. meters
- A foolproof, step-by-step testing procedure for accurate results
- How to interpret your numbers and take immediate, corrective action
- Common beginner mistakes that skew tests and how to sidestep them
My advice comes from years of hands-on experience running complex planted systems and breeding sensitive fish, where precise water testing is the daily heartbeat of success.
Why Your Fish Tank Needs Regular Check-Ups
Think of water testing as a routine doctor’s visit for your entire aquarium ecosystem. You can’t see ammonia or nitrite with your naked eye, but your fish feel their effects instantly. Waiting for your fish to look sick means you’ve waited too long; proactive testing is the cornerstone of preventative care. A stable tank is a healthy tank, and these simple checks are your best tool to provide that stability. That’s where essential aquarium water testing kits come in—use them regularly. With these kits, you can catch issues before they affect your fish.
The Silent Signals in Your Water
Your fish communicate their comfort through their behavior long before disease strikes. A sudden lack of appetite in Goldie, or Captain Fin resting on the bottom more than usual, are cries for help. These shifts often trace back to invisible water parameters. An ammonia spike might first show as slightly ragged fins, while a pH crash can cause all your fish to breathe rapidly at the surface. Testing decodes these silent signals, letting you fix the root cause, not just the symptom.
I learned this the hard way with my corydoras, Shadow. He became unusually still, and a quick test revealed a tiny ammonia reading I hadn’t expected. A water change fixed it immediately. Testing transforms you from a worried observer into an empowered problem-solver, often before a crisis ever begins.
Choosing Your Testing Toolkit: Strips, Drops, and Digital
You have three main paths for testing: liquid reagent kits, disposable test strips, and digital meters. Each has a role, but they are not created equal in accuracy or value. Your choice depends on how deep into the hobby you are and what you’re willing to invest for peace of mind.
Liquid Test Kits: The Gold Standard
For core parameters like pH, ammonia, nitrite, and nitrate, liquid test kits are the most reliable tool for home aquarists. They work by adding precise drops of reagent to a vial of tank water, causing a color change you match to a chart. The multi-step process might seem fussy, but that complexity is why it’s accurate-it measures chemical concentration more precisely than a strip can. These essential water testing tools help maintain healthy aquarium parameters by enabling timely adjustments to pH, ammonia, nitrite, and nitrate levels. Regular testing supports stable water chemistry and healthier fish.
I rely on a master liquid test kit for my weekly checks. Yes, it takes five minutes instead of thirty seconds, but the clarity is worth it. You can distinguish between 5 ppm and 20 ppm of nitrate, a critical difference for plant growth and fish safety. For diagnostic power and cost-per-test value, a quality liquid kit is an unbeatable long-term investment.
- Pros: High accuracy, cost-effective over time, tests for the most critical parameters.
- Cons: More time-consuming, involves glassware, reagents expire in 1-2 years.
- Best For: Weekly maintenance, troubleshooting problems, and serious hobbyists.
Test Strips: Quick but Questionable
Dip a strip in the water, shake it off, and compare the pads to a color chart-it’s incredibly fast and convenient. This speed makes them tempting for a quick glance. However, strips are notorious for fading accuracy over time, especially if the bottle isn’t sealed perfectly, and their color blocks can be frustratingly hard to interpret.
I keep a jar of strips for one purpose only: a super-fast check between my liquid tests if something seems “off.” I once used a strip that showed zero nitrates, but my liquid kit revealed a reading of 40 ppm. The strip was old. Use test strips as a preliminary scan, never as your sole diagnostic tool, especially for ammonia or nitrite.
- Pros: Unmatched speed and ease, good for testing several parameters at once.
- Cons: Lower accuracy, susceptible to moisture damage, color charts are often vague.
- Best For: Quick, between-maintenance checks or testing for non-critical parameters like general hardness.
Preparing for a Perfect Test: Your Pre-Flight Checklist
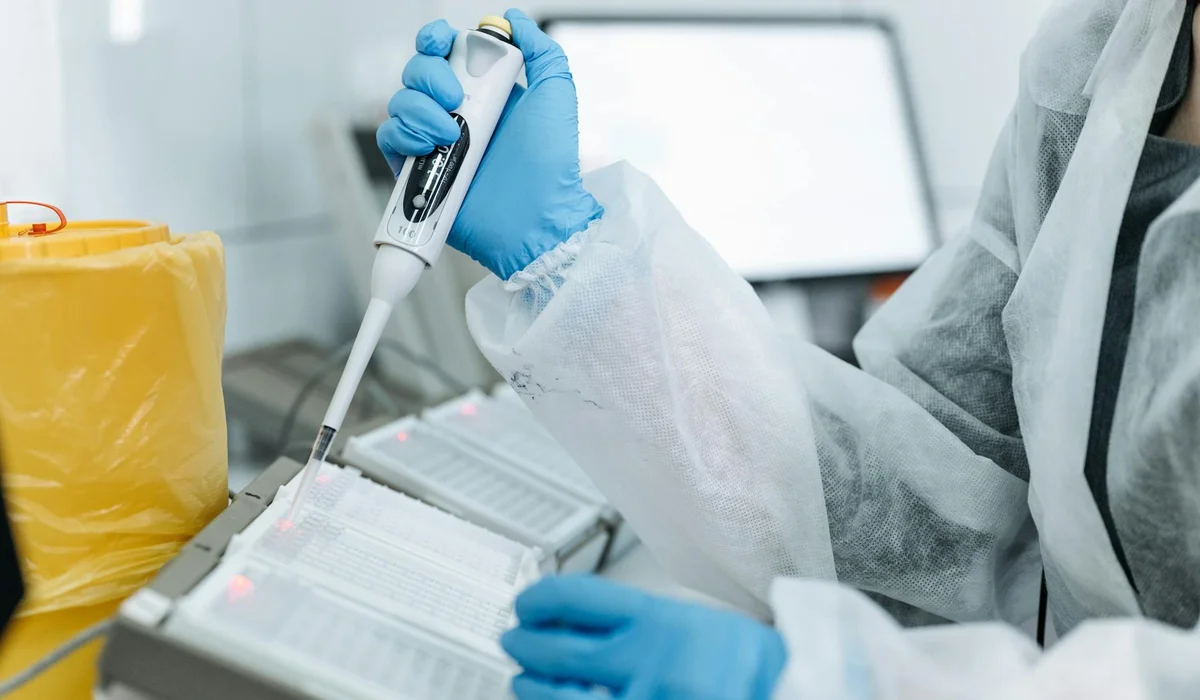
Before you even open a test bottle, a little preparation prevents a world of confusion. Treat this like a pilot’s checklist-missing one item can skew your entire flight plan for fish health. I keep my kit in a dedicated basket with these items always ready to go.
- A clean, dedicated glass or plastic cup for sampling (I use a small glass that’s only for the tank).
- Paper towels or a clean cloth for spills.
- A timer-your phone works perfectly.
- A notebook and pen for logging results.
- Your full test kit with all reagents, tubes, and color cards.
How to Collect a True Water Sample
This is where many aquarists slip up, getting a sample that doesn’t reflect what your fish actually experience. Always collect your water from the middle of the tank, away from filter outputs and surface film. Dip your clean cup straight down, elbow deep, to grab a representative mix. For my bottom-dweller Shadow, I also sometimes test right near the substrate to check for pockets of waste, but the mid-water sample is your consistent baseline.
Fill your test vial directly from this cup immediately. Procrastination here is your enemy, as oxygen levels and temperature can change, subtly altering the chemistry. Do this during a calm period, not right after a feeding or a filter cleaning, to see the tank’s true steady state.
The Step-by-Step Water Testing Process
With your true sample in hand, it’s time to get scientific. I do this weekly, and for sensitive fish like Captain Fin, even twice a week after a tank change. Consistency in your method is just as important as consistency in your water parameters.
Step 1: Set Up Your Testing Station
Clear a flat, well-lit space on a table-never on a carpet where a drop of reagent can disappear. Lay out your paper towels, line up your test vials, and have your color chart and notebook open and ready. I organize my tests in the order I always do them: pH, Ammonia, Nitrite, then Nitrate. This routine prevents cross-contamination and missed steps when you’re juggling multiple bottles.
Step 2: Perform the Chemical Tests
Follow your kit’s instructions to the letter, but adopt these habits for precision. Cap each vial and shake it with vigor-think of it like a mini workout for 30 seconds to fully activate the reaction. For liquid tests, hold droppers vertically for uniform drops. Set your timer the moment you start shaking; guessing the development time leads to inaccurate color reads.
Test for these core parameters every time:
- Ammonia: This is public enemy number one. Even trace amounts above 0 ppm stress fish.
- Nitrite: Another toxic compound; it should always read zero in a cycled tank.
- Nitrate: Your end product. For planted tanks, I keep it under 20 ppm; for Goldie’s goldfish tank, under 10 ppm is my goal.
- pH: Test this regularly, but don’t chase perfect numbers. Stability is key. Captain Fin’s water sits at a steady 7.0, and that’s better than a fluctuating 7.5.
Step 3: Read and Record the Results Accurately
Hold the vial against the color card in bright, natural light if possible. Artificial room lights can cast yellow or blue tints, tricking your eye into misreading greens and blues. Look through the side of the tube, not the bottom, for the truest color comparison. If the shade is between two values, always record the higher, more conservative number for safety.
Immediately write down every result with the date and time in your notebook-your memory is not a reliable log. I also jot down any tank events that day, like “water change” or “added new plants.” This record becomes your tank’s health diary, showing you trends over weeks and months that a single test can never reveal.
Decoding the Colors: What Your Results Really Mean
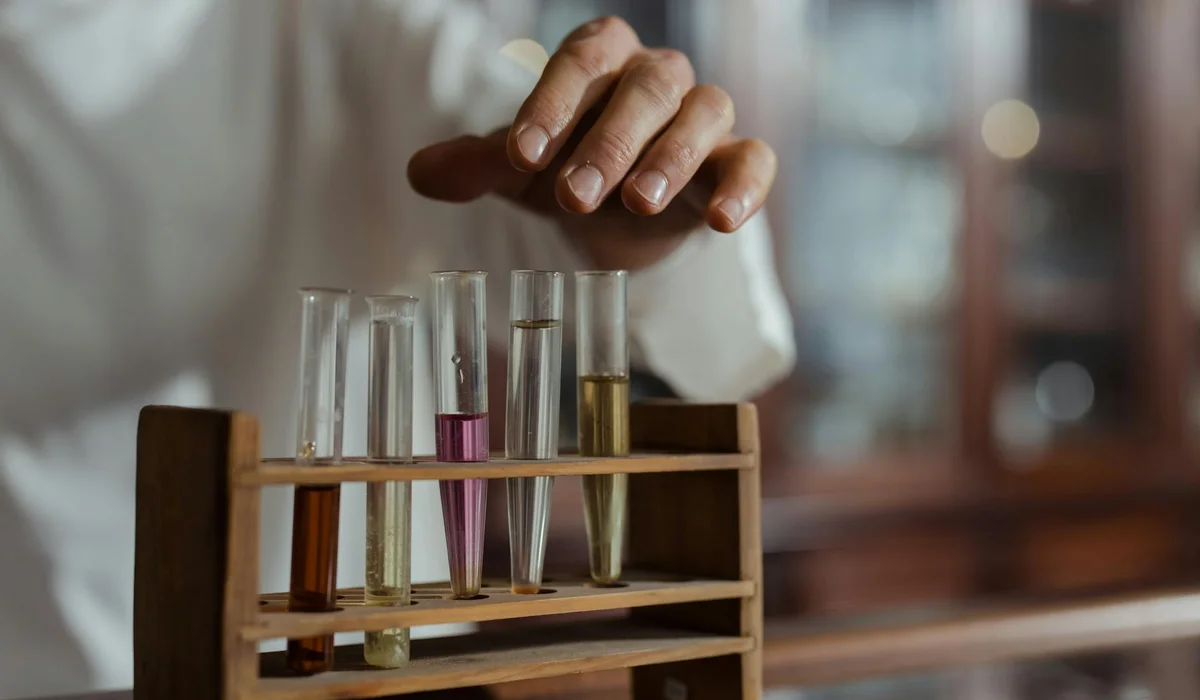
Staring at those tiny test tubes, comparing shades to a color chart, can feel like reading tea leaves. I remember the first time I tested my tank-Captain Fin’s home-and panicked over a faint green hint. Your test kit is a direct line to the invisible world your fish live in, translating water chemistry into a story you can see. Let’s translate that story together.
For ammonia, nitrite, and nitrate, think of the colors as a traffic light. Zero ammonia and nitrite is always the goal, a clear “green” for go. Any detectable color here is a red light, signaling danger. Nitrate is more of a yellow light; a little is normal, but deep red means you need a water change, pronto.
- Ammonia (NH3/NH4+): Any hint of green, beyond the pure yellow of zero, means waste is building up. This burns fish gills.
- Nitrite (NO2-): Even a light purple or pink is bad news. It suffocates fish by blocking oxygen in their blood.
- Nitrate (NO3-): Orange (10-20 ppm) is manageable for most tanks. Dark red (40+ ppm) stresses fish and fuels algae.
- pH: This isn’t about good or bad, but stability. A sudden swing in color, say from blue to yellow, shocks fish more than the number itself.
Trust your eyes in good light, and if the color seems between two blocks, always assume the worse reading for ammonia and nitrite. When in doubt, treat a questionable result as a real problem-it’s safer for creatures like shy Shadow, who are extra sensitive to poor water.
When to Sound the Alarm: Critical Parameters
Not every parameter shift requires you to drop everything. But some do. If your test shows these results, act immediately.
Ammonia or nitrite reading above 0.25 ppm is a full-blown emergency. I learned this the hard way when Goldie’s tank spiked after overfeeding. Any detectable ammonia or nitrite means your tank’s beneficial bacteria are overwhelmed or absent, and fish are being poisoned. Do a 50% water change within the hour.
pH crashes are silent killers. If your pH dives below 6.0, it can stall your nitrogen cycle and acidify the water. For tanks with delicate species, a rapid rise above 8.0 can be just as harmful.
- Immediate Action (Do a water change now):
- Ammonia > 0.25 ppm
- Nitrite > 0.25 ppm
- pH swing > 0.5 units in 24 hours
- Investigate Soon (Within a day):
- Nitrate > 40 ppm
- pH consistently outside 6.5-7.5 for community fish
- Zero nitrate in a cycled tank (could mean a stalled cycle)
Your fish’s behavior is the ultimate alarm-if they’re gasping, lethargic, or hiding like Shadow does when stressed, test the water even if it’s not your scheduled day. These are among the most common signs of stress in aquarium fish. Consistency is key; sudden changes are far more dangerous than a stable, slightly “off” reading. Recognizing them early helps you respond quickly.
Beyond the Basics: Testing GH, KH, and More
Once ammonia, nitrite, and nitrate are under control, you graduate to the subtler arts of water chemistry. General Hardness (GH) and Carbonate Hardness (KH) are the unsung heroes of tank stability. That’s why this topic sits at the heart of a complete guide to aquarium water hardness. We’ll explain how GH and KH affect stability and how to test and adjust them for a healthy tank.
GH measures dissolved calcium and magnesium—it’s what makes water “hard” or “soft.” Think of GH as the building material for fish scales and snail shells; too soft, and creatures like nerite snails struggle, too hard, and it can stress soft-water fish. Understanding GH and KH —and how they shape aquarium water hardness—helps you tailor water to your fish and invertebrates. KH is your pH’s buffer, its bodyguard against crashes. Low KH means your pH is on a wobbly tightrope.
Testing these involves counting drops until the solution changes color. It’s simple:
- Fill the test vial with tank water.
- Add the GH reagent drop by drop, swirling after each.
- Count the drops until the color shifts from orange to green. That number is your GH in degrees.
- Repeat with the KH reagent, watching for a blue-to-yellow change.
Aim for a GH between 4-8 dGH and a KH above 3 dKH for a stable community tank; this range supports most live plants and fish without dramatic pH swings. If you keep sensitive shrimp or specific cichlids, you’ll need to target their precise needs.
The Tap Water Surprise
Here’s a secret: your aquarium’s story often begins at the sink. I was shocked to test my tap water and find a KH of only 1—it explained why my tanks were prone to pH crashes. Always test your tap water after it sits for 24 hours; this lets chlorine dissipate and gives you its true base parameters. This little test matters because pH affects how your fish metabolize, and stable pH is essential for a healthy aquarium. Maintaining a steady pH isn’t just a number—it’s about creating a safe home for your aquatic life.
Your municipal water can hide surprises like high phosphate (algae fuel) or copper (dangerous for invertebrates). Knowing your tap’s profile lets you adjust before it affects the ecosystem. For instance, if your tap is very soft, you might add crushed coral to the filter to boost KH and GH gently.
- Common Tap Water Scenarios:
- High Chlorine/Chloramine: Use a water conditioner every single time. It’s non-negotiable.
- Liquid Rock (Very High GH/KH): Great for African cichlids, tough for tetras. You may need to mix with reverse osmosis water.
- Soft, Acidic Water: Ideal for Amazonian fish but unstable. Adding baking soda (for KH) must be done with extreme care.
Test your tap water seasonally, as suppliers can change sources. This one habit saves you from chasing problems inside the tank that actually originate from your water supply. It turns guesswork into confident, proactive care.
Building a Healthy Testing Habit
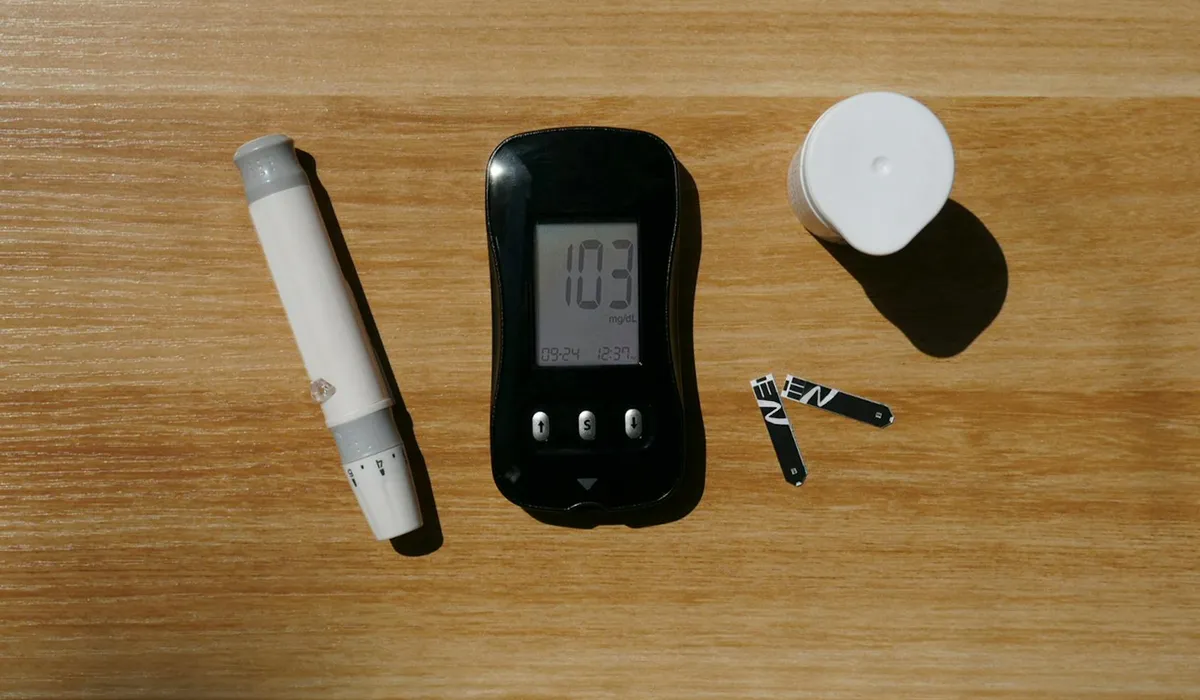
Regular water testing is the quiet heartbeat of a thriving tank, the difference between guessing and knowing what your fish feel. Making it a routine transforms a daunting task into a quick check-in, like listening for the hum of your filter to know all is well. Regular checks focus on monitoring the essential water quality parameters—pH, ammonia, nitrite, nitrate, and temperature—to keep water quality balanced. I test my tanks every Sunday morning, a calm moment with my coffee while watching Goldie glide through the plants.
Pick a specific day and stick to it, tying it to an existing part of your schedule. This simple anchor, like testing right after you feed your fish, builds a rhythm that becomes second nature. For my betta Captain Fin, I test his water on feeding days; his responsive flares remind me he’s counting on that consistency.
- Start Simple: Test weekly for mature aquariums. Bump this to twice weekly for new tanks or after introducing new fish.
- Keep Tools Handy: Store your test kit where you see it daily-I keep mine on a shelf next to Shadow’s tank, so it’s never out of mind.
- Read the Signs: Pair testing with observing your fish. Clear water can hide chemical imbalances that behavior reveals first.
Your Simple Water Testing Log
A log turns scattered numbers into a story about your water’s health. When Shadow seemed shyer than usual, my written records showed a tiny ammonia spike I missed, allowing a fix before real trouble started. You can use a notebook, a notes app, or a single sheet of paper-complexity isn’t the goal.
Jot down these details with every test to see the full picture.
- The date and exact time of your test
- pH, ammonia, nitrite, and nitrate levels
- Water temperature in degrees
- Any maintenance performed (water changes, filter cleaning)
- Brief notes on fish activity and appetite
This basic table format gives you a clear, scannable record to track trends.
| Date | pH | Ammonia | Nitrite | Nitrate | Temp (°F) | Observations & Actions |
|---|---|---|---|---|---|---|
| Sample: 10/26 | 7.2 | 0 ppm | 0 ppm | 15 ppm | 76 | 15% water change. Goldie foraging well. |
Look back at your log every few weeks. Noticing a gradual pH drop or a nitrate climb lets you adjust feeding or plants early, maintaining that perfect ecosystem balance. Understanding essential aquarium water parameters—pH, ammonia, and nitrates—helps explain what those log numbers mean. This habit saves you from frantic reactions and keeps your aquarium life shimmering and healthy.
FAQs
Are aquarium water test strips accurate enough to rely on?
Test strips are best used for quick, general checks but lack the precision of liquid kits. Their colors can be hard to read, and they often lose accuracy if exposed to moisture. For diagnosing critical issues like ammonia or nitrite, a liquid reagent kit is a far more reliable choice.
What is the benefit of using a digital aquarium water tester?
Digital testers, like pH or TDS meters, provide precise numerical readings, removing the guesswork from color matching. They are excellent for frequently testing a single parameter where stability is crucial. However, they require calibration and are an additional investment beyond a core liquid test kit for ammonia, nitrite, and nitrate.
My local pet store offers free aquarium water testing. Should I use that instead?
Store testing is a great supplemental service, especially if you need a second opinion. However, for proactive care, having your own kit is essential. It allows for immediate testing when you notice a problem and helps you build a consistent log of your tank’s history, which is key to preventative health.
Can I use an aquarium water test app to read my results?
Some apps use your phone’s camera to analyze the color of test strips or liquid test tubes. While convenient, their accuracy depends heavily on your lighting and camera quality. They should not replace your own careful visual comparison in good, natural light, especially for critical safety parameters.
Your Testing Routine, Simplified
Stick to a weekly testing schedule with a trusted kit, and always log your results to see the story your water tells over time. That routine helps you maintain proper water parameters in your aquarium. It keeps your tank stable and healthy. Interpreting those numbers correctly lets you make small, effective changes that prevent big problems, turning testing from a chore into your tank’s best defense.
Taking these steps shows true responsibility, ensuring your fish thrive because of your attentive care. Let each test deepen your connection to this hobby—there’s always a new detail to learn that makes keeping an aquarium so fulfilling. Understanding which essential aquarium maintenance tasks are and how often to perform them helps keep your tank stable and healthy. Sticking to the recommended frequencies makes responsible care second nature.
Further Reading & Sources
- How (and How Often) to Test Aquarium Water for Healthy Fish and Plants – Aquarium Co-Op
- Aquarium Testing Equipment | Hanna Instruments
- Individual Test Kits – Aquarium & Aquaculture – Products
- How to test aquarium water without a kit – Quora
- r/Aquariums on Reddit: New to Aquariums, need to know about water testing. What do you test for? What is your go to testing equipment?
Lia is an expert in aquarium and pet fish care. Having worked in the marine industry and having cared for multiple pet fish, she has acquired first hand expertise on aquarium care, maintenance and setup. She always brings her practical expertise and science to help solve any aquarium related queries.
Water Quality