
Your Fish’s Safe Passage: A Practical Guide to Stress-Free Acclimation
Hello fellow fish keepers! That moment of adding a new fish to your tank is pure joy, but it’s also where many well-intentioned efforts go wrong. I’ve seen too many fish suffer from rapid water changes, and I want to help you avoid that heartbreak entirely.
This guide cuts through the confusion and gives you a clear, actionable plan. We’ll cover the key aspects to ensure your fish swims happily in its new home, including: pre-acclimation water testing, comparing the float method versus the drip method, step-by-step timing for different fish sensitivities, and post-acclimation monitoring for health.
My advice comes from hands-on experience running complex planted systems and breeding sensitive species, learning what truly works to keep fish thriving.
The Gentle Gateway: Understanding Acclimation
Think of acclimation as a polite handshake between your fish and their new home, not a sudden shove through the door. Fish, even feisty ones like my betta Captain Fin, live in a world defined by water chemistry. Their bodies are tuned to specific levels of temperature, pH, and minerals. Moving them quickly from one set of parameters to another is a massive physiological shock, like asking you to instantly breathe a different mix of air. To properly acclimate a betta to a new tank, gradually match the new water’s temperature and parameters before moving them in. This careful process helps minimize stress and prevents shock to their delicate system.
I learned this lesson early on with Shadow, my corydoras. I was eager and just floated the bag. He survived, but he hid for days, stressed. The goal isn’t just survival; it’s to have your fish swimming confidently, like Goldie foraging, within hours. This slow introduction lets their systems adjust without panic.
The main villains in this story are sudden shifts. Let’s break them down:
- Temperature: A change of more than 1-2°F per hour can weaken immune systems. Your heater’s readout and the bag’s water can be wildly different.
- pH and Hardness (GH/KH): These measure water’s acidity and mineral content. A jump of 0.5 in pH can feel drastic to a fish. Tap water and store water often don’t match.
- Dissolved Waste: The water in that travel bag is often high in ammonia from fish waste. You need to dilute it with your clean tank water, not just plop the fish into it.
A proper acclimation method gently mixes the two water worlds, easing all these parameters toward harmony. It transforms a potentially lethal event into a smooth transition. Rushing this process risks shock, disease outbreak, or loss. Taking an extra 30 minutes is the kindest thing you can do.
Your Acclimation Toolkit: Simple Equipment for Safety
You don’t need fancy gear to acclimate fish safely. In fact, my most reliable toolkit lives in a single drawer. Having these items ready turns a nervous moment into a calm, routine procedure.
Here is everything I grab before bringing a new fish home:
- A Dedicated Clean Bucket: This is your acclimation station. Use one never touched by soap or chemicals. A 2-gallon size is perfect for most bags.
- Airline Tubing and a Control Valve: This is the heart of the drip method. The valve lets you regulate flow from a slow drip to a thin stream.
- A Small Net: For gently transferring the fish after acclimation. Never pour the store water into your display tank.
- A Reliable Thermometer: Not the strip on the tank, but a floating or digital one to check bucket water temperature against the tank.
- Paper Towels or a Clean Lid: To cover the bucket and reduce light stress for shy species like catfish.
- A Timer or Your Phone: Consistency is key. Set intervals for checking the water volume.
My favorite DIY hack is using the airline tubing to create a siphon drip from your tank down into the bucket. Just tie a loose knot in the tube to act as a manual valve if you don’t have a plastic one. Start at 2-3 drips per second. This method offers the most control and is what I use for all sensitive fish now. This siphon is ideal for a perfect water change siphon—remove a controlled portion of water and replace with conditioned water. It makes routine tank maintenance quick, quiet, and gentle on your fish.
Place your sealed fish bag in the empty bucket, then carefully open it and roll down the top edges so it floats. Start by adding half a cup of your tank water to the bag every five minutes. After 15 minutes, you can begin the drip line. The gentle hum of the filter and the slow drip of clean water is a soothing signal to the fish that change is coming gradually. You’re building a bridge, and this toolkit is your construction equipment. To perform a water change without shocking your fish, keep the replacement water at the tank’s temperature and add it slowly. This gentle, gradual exchange helps your fish adjust calmly.
The Two Best Methods: Float vs. Drip Acclimation
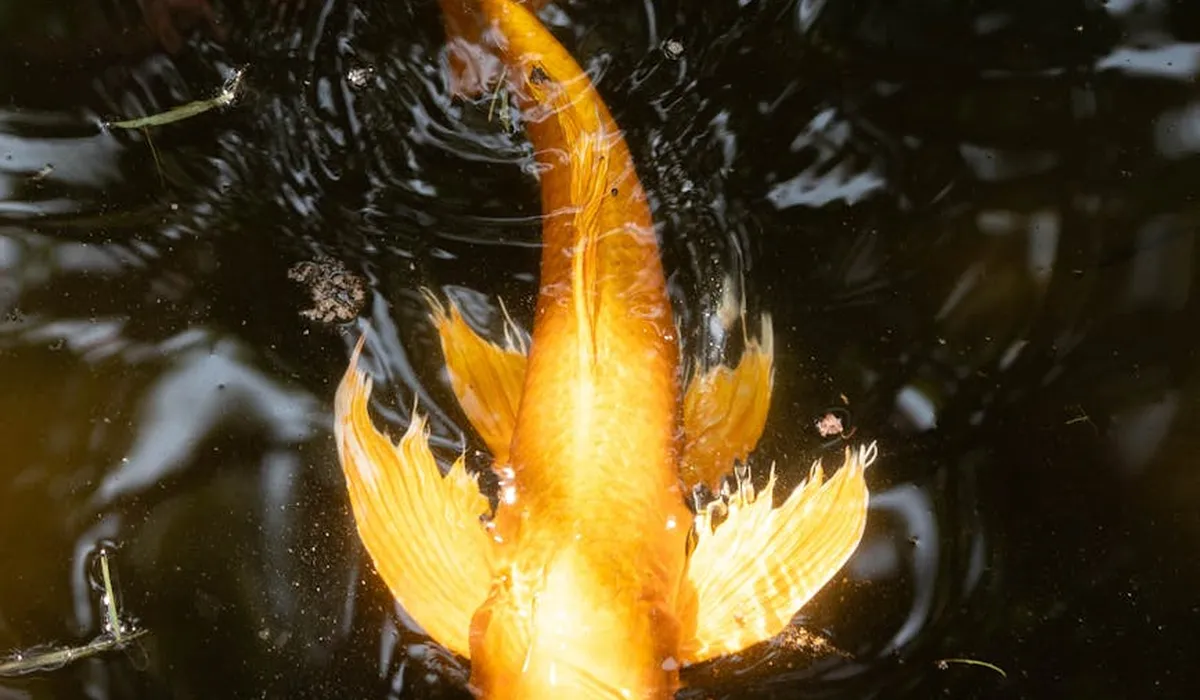
You’ve got the bag floating in your tank, heart pounding as you look at your new finned friend. The next 30-60 minutes are the most critical. Your goal isn’t just to mix water; it’s to gently guide your fish from one complete aquatic environment into another without their body going into shock. Choosing the right method makes all the difference.
The Float Method: A Simple Start
This is the classic technique most of us learn first, perfect for hardy fish like common livebearers or robust tetras. Think of it as letting your fish get used to the room’s temperature before taking off its coat.
I use this for fish like potential new tank mates for my Corydoras, Shadow, when they come from a store with known, stable conditions. The key here is patience-rushing this process is where many well-meaning aquarists accidentally harm their new pets.
- Turn off your aquarium lights to reduce stress.
- Float the sealed bag on the surface of your tank for 15 minutes. This equalizes the temperature slowly.
- Open the bag and roll down its top to create a floating collar so it doesn’t sink.
- Every 5 minutes for the next 30-45 minutes, add a half-cup of your tank water into the bag. This gradual mix lets them adjust to your water chemistry.
- Net the fish out of the bag and release it into the tank. Discard the bag water entirely-never pour it into your aquarium!
The Drip Method: For Delicate Scales
For sensitive species like wild-caught fish, delicate shrimp, or my betta Captain Fin when I brought him home, the drip method is the gold standard. This technique mimics a very slow, natural change in water parameters, giving fragile biological systems the time they need to adapt. It’s a game-changer for preventing osmotic shock.
You’ll need some airline tubing and a valve or knot to control flow. A dedicated acclimation kit from your fish store works wonders, but a DIY setup is simple. If you’re re-acclimating fish after a tank repair emergency, use the slow drip method to reintroduce them to the repaired tank, matching temperature and water parameters. Monitor their behavior and adjust flow to minimize stress.
- Float the bag to temperature-match for 15 minutes, then gently pour the fish and the store water into a clean bucket or container.
- Set up a siphon from your main tank to the container using the airline tubing. Start the siphon and tie a loose knot or use a valve to create a slow drip-about 2-4 drips per second.
- Let the water drip until the volume in the container doubles. This can take 60-90 minutes.
- Carefully net the fish and transfer it to your display tank. Again, discard the diluted water from the container.
Reading the Water: Key Parameters Explained
Acclimation isn’t just about temperature. Fish live in the water; they drink it, breathe it, and feel its chemistry through their scales and gills. Ignoring water parameters is like moving to a new country without checking the air quality or climate-it’s a systemic shock to their entire body. Different fish types have different ideal water parameters. Tropical freshwater fish usually prefer warmer, softer water, while others prefer harder, more alkaline conditions.
Temperature: The Silent Shock
A sudden temperature shift of even a few degrees can immobilize a fish’s immune system, making them instantly vulnerable to disease. Thermal shock happens in seconds, causing severe stress, erratic swimming, and sometimes immediate death. This is why the initial float is non-negotiable.
Always ask the store for their tank temperature. If your home aquarium is set to 78°F but your new fish is swimming in 72°F water, you need to bridge that 6-degree gap over the entire acclimation period, not just the first few minutes.
pH and Chemical Balance
While temperature is a physical shock, a mismatch in pH and dissolved minerals is a chemical one. If your tap water is a hard, alkaline 8.0 and the fish comes from soft, acidic 6.5 water, its cells struggle to manage the difference in ion concentration.
A drastic pH change burns a fish’s gills, compromises its slime coat, and forces its kidneys to work overtime-symptoms you often won’t see until hours later. The drip method excels here because it adjusts these chemical factors so slowly the fish can adapt. Test your tank water regularly so you know exactly what environment you’re asking your new arrival to join.
Timing is Everything: How Long Should Acclimation Take?
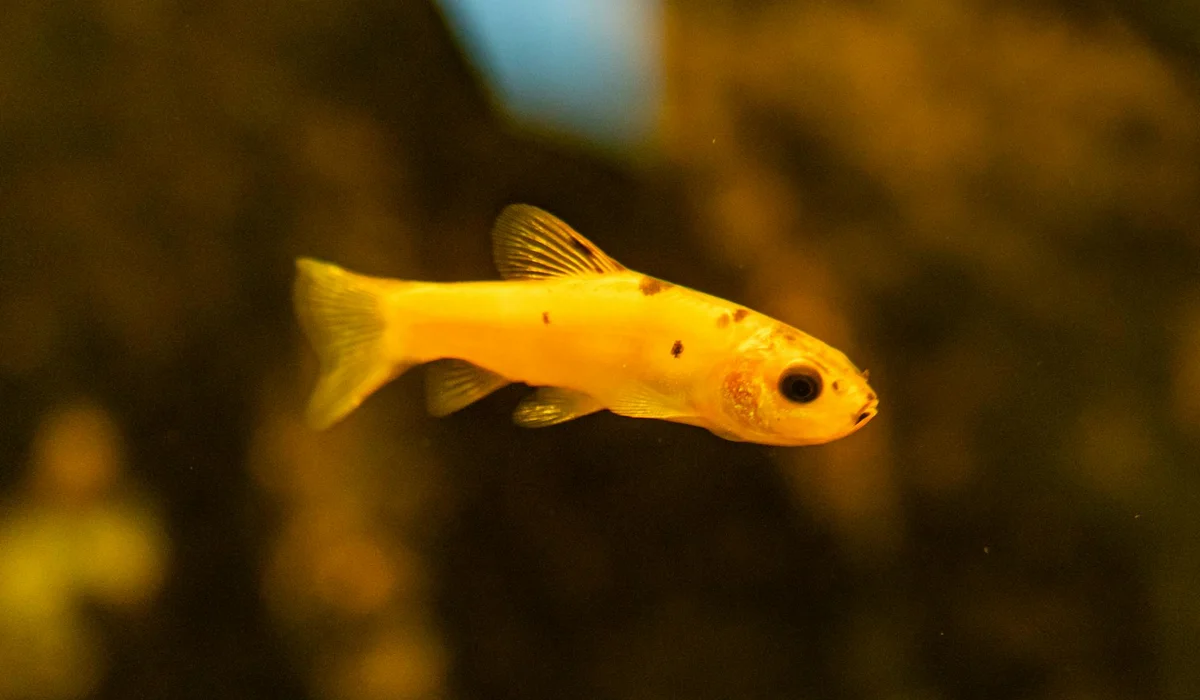
Rushing this process is the fastest way to shock your new fish. Think of acclimation not as a race against the clock, but as a gentle invitation for your fish to adjust to a completely new world. After quarantine is complete, you’ll begin acclimating them to the main display tank for a calm, smooth transition. This final step helps them settle into their permanent home. The total time can vary, but you should never dedicate less than 30 minutes, with 60-90 minutes being a much safer, more comfortable target for most species.
A slow drip method is the gold standard for sensitive or expensive fish. Setting up a siphon drip line to add about 2-4 drops of tank water per second into the transport bag or container gives you absolute control over the pace. This method can easily take 1.5 to 2 hours, but it mitigates osmotic shock-the physical stress caused by rapid changes in water chemistry.
A Practical Acclimation Timeline
- Float & Settle (15 minutes): Simply float the sealed bag to equalize temperature. This is just step one.
- The Dilution Phase (45-75 minutes): Open the bag, roll down the top, and add small amounts of your tank water every 5-10 minutes. Triple the original water volume by the end.
- The Transfer (Final 5 minutes): Gently net the fish from the bag and release it into the tank. Discard the bag water; never pour it into your aquarium.
For hardier fish like some livebearers, a 45-minute acclimation might suffice. When in doubt, always err on the side of a slower, longer introduction-your fish’s kidneys will thank you for the gradual TDS change. That nervous shadow you see darting? That’s Shadow, my corydoras, and he gets the full 90-minute royal treatment every time.
Signs of Success (And Signals of Stress)
After release, observe carefully. Success is often quiet. A successful acclimation is marked by a fish that begins exploring its new environment with curiosity, not panic, within the first hour. You might see Captain Fin cautiously flaring at his own reflection or Goldie nibbling at a leaf. Their colors may seem dull at first but should deepen within a few hours as they settle.
Red Flags: Immediate Stress Signals
- Rapid Gill Movement (Piping): This is a major sign of oxygen distress or chemical shock.
- Erratic, Jerky Swimming or Crashing Into Decor: This isn’t playfulness; it’s sheer terror or neurological disruption.
- Lying on the Bottom or Floating Listlessly: A fish that cannot maintain buoyancy is in serious trouble.
- Clamped Fins: Fins held tight against the body signal illness and severe discomfort.
Stress can also show up days later in the form of illness. Ich (white spots) or fin rot often appear a week after a poorly executed acclimation, as the immune system crashes from the initial shock. A fish that hides for a day is okay; a fish that refuses food for three days is sending a clear signal.
Your Post-Acclimation Checklist
- Lights remain off for at least 6-8 hours to reduce stress.
- Skip feeding for the first 24 hours to allow digestion to reset and avoid polluting the water.
- Monitor water parameters daily for the next week to ensure stability.
- Resist the urge to rearrange the tank to give your new arrival consistent landmarks.
The true test of a smooth transition is seeing natural behaviors emerge within 48 hours: Shadow rooting in the sand or Captain Fin building a bubble nest. If you see these, you’ve nailed it. Remember, patience here isn’t just a virtue; it’s the cornerstone of ethical fishkeeping.
Special Considerations for Your Fishy Friends
Not all fish handle change the same way. Your betta’s needs differ wildly from your goldfish’s, and ignoring that is a fast track to stress. I always tailor my acclimation approach based on the personality and biology of the specific fish in my care. With a new fish, signs of acclimation stress are important to spot early. Common cues include quick breathing, increased hiding, and a drop in appetite. Think of it like moving houses; a cautious person needs a gentler introduction than an adventurous one.
Take my feisty Crowntail, Captain Fin. His labyrinth organ lets him breathe air, but it makes him supremely sensitive to sudden shifts in water chemistry. For bettas, I acclimate them slowly in a dim area, as bright lights and rapid parameter swings can overwhelm their delicate systems. I keep the water very still, as they dislike strong currents.
Contrast that with Goldie, my Oranda goldfish. She’s hardy but produces a staggering amount of waste, which directly impacts water quality. When introducing goldfish, your main focus should be on matching the nitrate levels and temperature of the new water to prevent osmotic shock. A two-degree difference can cause real harm.
Bottom dwellers like my corydoras, Shadow, present another challenge. They absorb substances through their ventral skin and barbels. I am extra meticulous about ensuring the substrate in the new tank is free of sharp edges and the water is devoid of chlorine, which burns their sensitive whiskers. A quick rinse of new gravel under tap water isn’t enough-you must soak it in treated water.
Acclimating After a Water Change
Regular water changes are non-negotiable, but pouring fresh water directly onto your fish is a common mistake. The goal is to make the change so seamless that your fish barely notice it, preserving the bacterial balance and minimizing stress. The hum of the filter should remain a constant, comforting sound, not a signal of turmoil.
Here is my simple, three-step process after I siphon out the old water:
- Temperature Match: I always heat the new water to within 0.5°F of the tank water. I use a dedicated aquarium heater in my clean water bucket for this.
- Treat and Aerate: I add dechlorinator to the bucket first, then stir vigorously for a minute to gas off any chlorine and boost oxygen levels.
- Slow Introduction: I never dump. I use a clean cup or a slow siphon hose to trickle the new water into a high-flow area of the tank over 15-20 minutes.
This method has never failed me. Watching fish like Shadow immediately resume foraging in the clear water tells me the transition was a success. It’s also helpful to note what counts as normal behavior before and after a water change. If they settle back in, swim openly, and eat within minutes, that’s typical; if they hover near the surface or hide for long, that’s a sign to check water parameters. For larger changes over 30%, I might even float their bag in the new tank water during this process for an extra layer of security.
Advanced Harmony: Fine-Tuning for a Perfect Transition
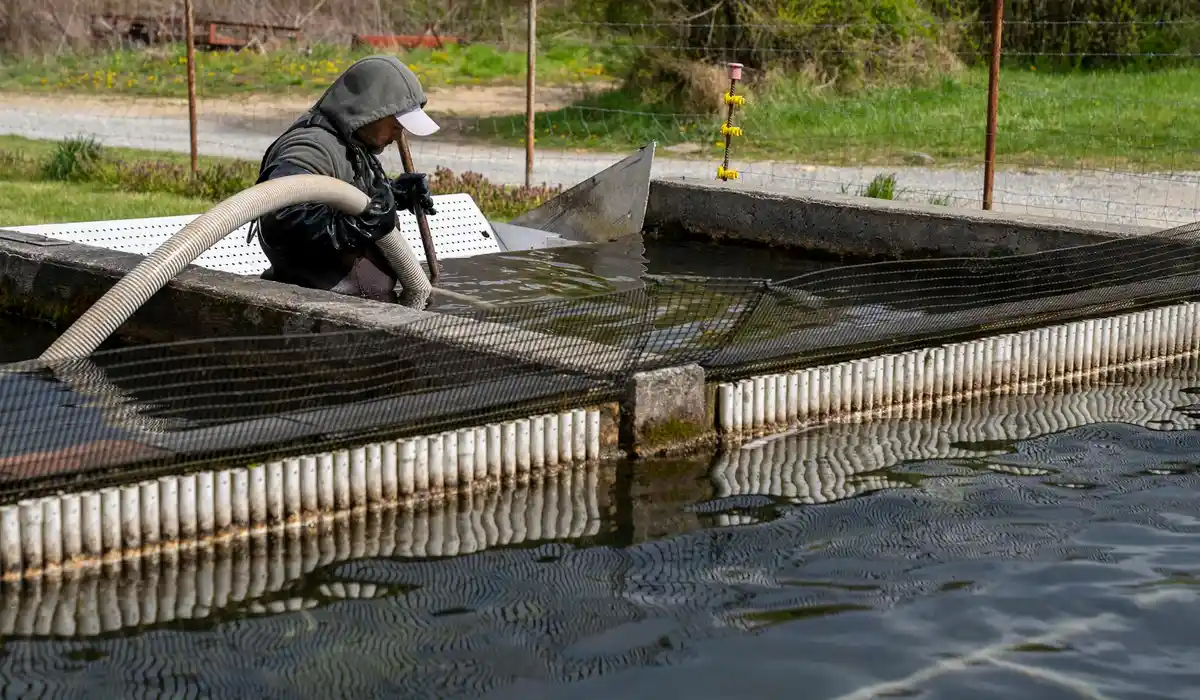
Once you’ve mastered the basics, you can elevate your technique to create a truly flawless introduction. Advanced acclimation is about controlling every variable, from dissolved gasses to mineral content, for the most sensitive or valuable fish. It turns a risky necessity into a controlled science experiment.
Drip acclimation is the gold standard here. You’ll need airline tubing and a control valve.
- Set the fish, in its sealed bag or a container, next to the main tank.
- Run a siphon of tank water through the tubing into the container, using a knot or valve to achieve a slow drip of 2-4 drops per second.
- Over 60-90 minutes, the water in the container will gradually match the tank’s parameters. Then, net the fish out and add it to the tank.
I use this drip method for all new fish, as it gently corrects differences in pH, hardness, and even trace elements that floating bags can’t address. For my shrimp or delicate scaleless fish, it’s mandatory.
Don’t forget about the chemistry you can’t see. If your tap water has a pH of 7.0 but your tank sits at a stable 6.5 due to driftwood, a direct water change can cause a pH swing that stresses every inhabitant. To safely adjust pH levels, make small, gradual changes and test the water often. Avoid large swings by limiting changes to a few tenths of a pH unit per day. I buffer my change water with a pinch of crushed coral in a filter bag to gradually align with the tank’s acidity.
Finally, listen to your aquarium. The true sign of advanced harmony is behavioral: Captain Fin flaring at his reflection within an hour, or Goldie grazing on algae without a hint of clamped fins. That shimmer of scales under the lights is your reward for patience and precision.
##
FAQs
What equipment is needed for fish acclimation?
You do not need complex equipment. The essentials are a clean, chemical-free bucket, airline tubing with a control valve for the drip method, a small net, and a reliable thermometer. Having these items prepared turns the process into a calm and controlled procedure.
What signs indicate proper acclimation?
Successful acclimation is shown by natural exploratory behavior within the first few hours, such as swimming calmly and investigating surroundings. Their colors should deepen, and they should show interest in food within 24-48 hours, indicating they are not suffering from shock or severe stress.
How do pH, salinity, and hardness affect acclimation?
These chemical parameters directly impact a fish’s internal systems. Sudden changes can cause osmotic shock, damaging gills and overworking kidneys. The goal of slow acclimation is to gradually mix waters, allowing the fish’s physiology to adapt to the new pH, salinity (for marine/brackish fish), and general hardness (GH/KH) levels without harm.
How long should acclimation take for different fish species?
Duration varies by sensitivity. Hardy fish like some livebearers may need 45-60 minutes, while delicate species like wild-caught fish, scaleless fish, or shrimp require 90 minutes to 2+ hours using a drip method. Always err on the side of a longer, slower introduction to ensure safety.
Your Journey to a Thriving Tank Starts Here
The single most powerful tool for acclimation is your patience—rushing the process is the fastest way to stress your new fish. By dedicating time to slowly match temperature and water chemistry, you give your fish the strongest possible start in their new home. After a water change, keep that same deliberate pace to gradually acclimate to the new water, ensuring a calmer transition.
Committing to this careful introduction reflects a deeper responsibility for the living ecosystem you manage. Every fish, from my feisty betta Captain Fin to the shy corydoras Shadow, relies on your willingness to learn and adapt, making the ongoing pursuit of knowledge the true heart of this rewarding hobby.
Further Reading & Sources
- New Arrival Acclimation Guide
- Acclimation Guide – The Biota Group
- How To – Acclimate | Humble.Fish & Reef Community
- Acclimating Fish to Your Aquarium
- How to acclimate new fish in aquarium | Aquaforest
Lia is an expert in aquarium and pet fish care. Having worked in the marine industry and having cared for multiple pet fish, she has acquired first hand expertise on aquarium care, maintenance and setup. She always brings her practical expertise and science to help solve any aquarium related queries.
Water Quality