Turtle Tank Mastery: Building a Flourishing Aquatic Home Step-by-Step
Hello fellow aquarium enthusiasts! I know that moving from fish to turtles can feel daunting, with new worries about dry basking areas, powerful filters, and just how much space they really need. This guide cuts through the confusion, giving you a clear, practical path to a vibrant habitat where your shelled friend can thrive for years.
We’ll cover everything together, breaking down the setup into manageable pieces. Here are the key areas we’ll dive into:
- Selecting the ideal tank size and type from the start to avoid costly upgrades.
- Choosing a filtration system powerful enough to handle turtle waste and keep water pristine.
- Setting up the correct heating, UVB, and basking lighting for health and shell development.
- Picking safe substrate, rocks, and decorations that look great and prevent hazards.
- Establishing a simple weekly and monthly maintenance routine for long-term success.
My own journey through high-tech planted tanks and fish breeding has taught me the core principles of water chemistry and animal behavior that apply directly to creating a perfect turtle ecosystem.
Choosing Your Turtle and Its Forever Home
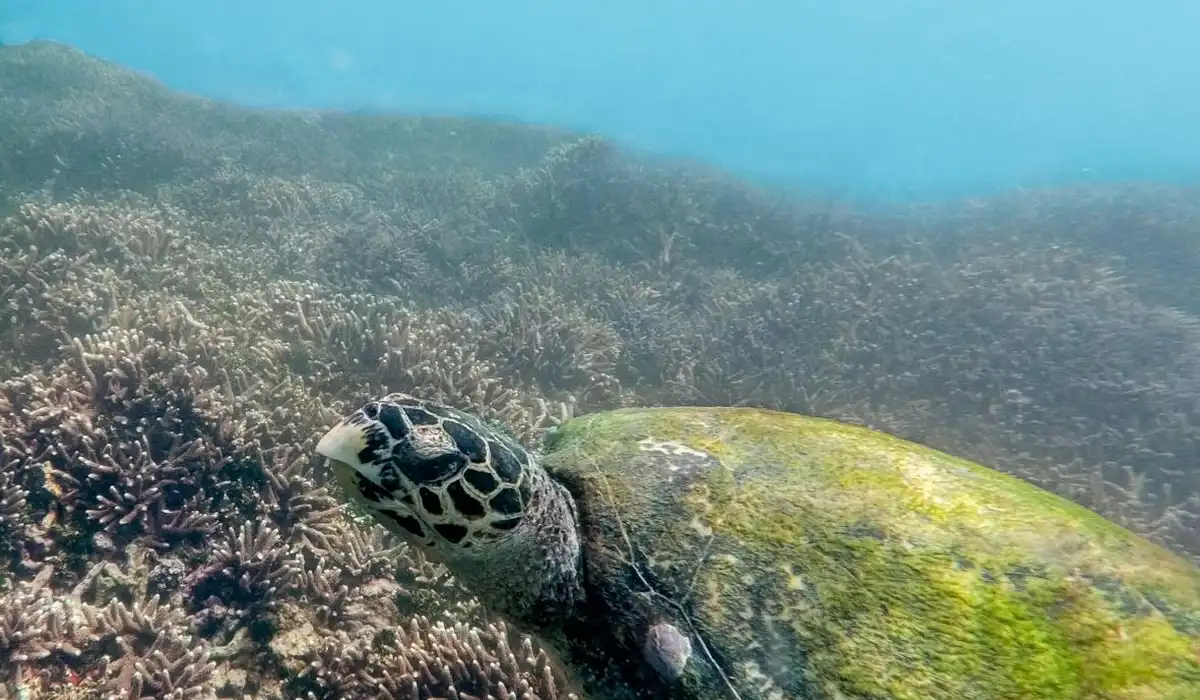
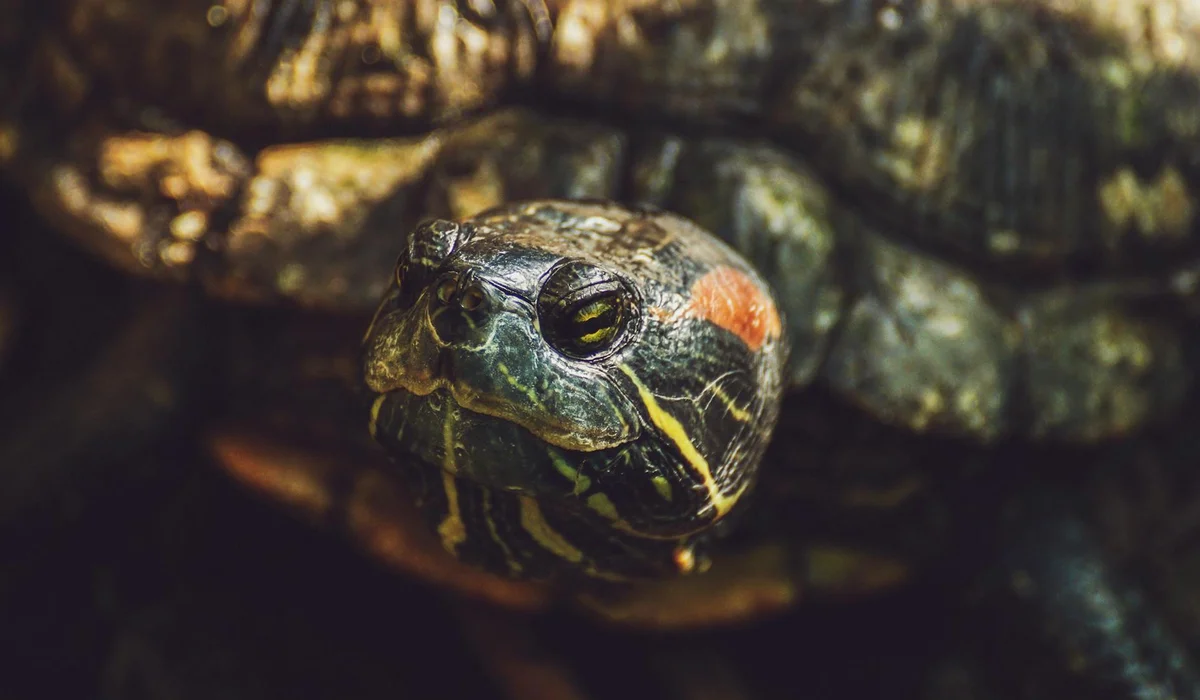
Your first big decision is which turtle to welcome home. For beginners, species like Red-Eared Sliders, Painted Turtles, or Musk Turtles are common, but their needs vary wildly. I always advise researching the adult size of a species, not its cute, coin-sized juvenile form, as this dictates everything about your setup. A fully grown Red-Eared Slider can reach 10-12 inches, needing vastly more space than a 4-5 inch Musk Turtle.
Tank size is non-negotiable. The old “10 gallons per inch of shell” rule is a bare, bare minimum. I prefer a more generous formula: for most common semi-aquatic turtles, plan for at least 75-100 gallons for a single adult. A spacious tank isn’t just about swimming room; it’s your primary tool for diluting waste and maintaining stable, healthy water chemistry. Always choose the largest aquarium your space and budget can handle from the start-you’ll thank yourself later.
Gathering Your Toolkit: Essential Turtle Aquarium Equipment
This is where we separate a murky, stressful enclosure from a thriving turtle ecosystem. Turtles are messier than almost any fish, so your equipment choices need to be robust and reliable, especially if you’re considering housing turtles and fish together.
Filtration: The Heart of the Habitat
Turtles produce a staggering amount of waste, so your filter must be rated for two to three times the actual water volume of your tank. For a 100-gallon tank, look for a filter rated for 200-300 gallons. Canister filters are the undisputed champions for turtle tanks, offering superior mechanical, chemical, and biological filtration with less frequent maintenance. While internal filters are cheaper, they often struggle with the bioload and take up precious swimming space inside the tank.
Heating: Consistency is Key
Turtles are cold-blooded and rely on you to maintain their metabolism. Water temperature should sit between 75-80°F for most common species. Use a fully submersible aquarium heater with an external guard, and always calculate wattage based on total water volume-5 watts per gallon is a reliable starting point. Place the heater near water flow to evenly distribute warmth and use a separate, trustworthy thermometer to double-check its work.
Lighting: Two Lamps, One Mission
This is a critical duo many beginners miss. You need two separate lamps over the basking area: a heat lamp for warmth and a specialized UVB lamp. The heat lamp creates a basking spot of 90-95°F. The UVB lamp (5.0 or 10.0 output) is non-negotiable-it allows your turtle to synthesize vitamin D3 and use calcium, preventing fatal metabolic bone disease. Run both lamps on a 12-hour on, 12-hour off timer to mimic a natural day/night cycle and reduce your daily chores.
The Basking Platform: Dry-Dock Perfection
Your turtle must be able to completely dry its shell and plastron (bottom shell). The platform must be sturdy, easy to climb onto, and positioned securely under the two lamps. You have options:
- Commercial Floating Docks: Great for adjusting water levels, but ensure they can’t tip.
- DIY Stacked Slate or Rock: My personal favorite for a natural look; just ensure the pile is absolutely stable.
- Above-Tank Basking Lofts: These maximize water volume below and are fantastic for larger turtles.
Whichever you choose, test it yourself-if it feels wobbly or slippery under your hand, it’s unsafe for your turtle.
Substrate & Decor: Form and Function
Bare-bottom tanks are easiest to clean, but substrate can make the environment more natural. If you use it, choose wisely. For more guidance, our aquarium substrate guide explains how to choose the right gravel or sand for your tank. It covers particle size, plant compatibility, and maintenance.
- Large, Smooth River Rocks: Too big to be swallowed, easy to vacuum around.
- Fine Play Sand: Packable for burrowing, but requires occasional stirring to prevent anaerobic pockets.
- Avoid Small Gravel: It’s an impaction risk if ingested and traps debris.
Add hardy decorations like PVC pipes, clay pots, or cholla wood for hiding spots. For plants, think “turtle salad bar”—species like Anubias or Java Fern can be attached to driftwood, as they are tough and may survive occasional nibbling.
The Step-by-Step Turtle Aquarium Setup Process
-
Step 1: Tank Placement and Cleaning
Choose a permanent spot on a solid, level stand that can handle the tank’s weight when full—water is heavy, about 8.3 pounds per gallon. Keep it away from direct sunlight to prevent algae wars and drafts that cause temperature swings. I always clean a new tank with warm water and a soft cloth; never use soap or chemicals. That initial wipe-down removes manufacturing dust and gives you a crystal-clear view for the work ahead. For the best way to clean a new fish tank before setup, finish with a warm-water rinse and let it air-dry completely. This extra step helps ensure no residue will cloud the water once you begin setup.
-
Step 2: Adding Substrate and Hardscape
Use large, smooth river stones or coarse sand that your turtle can’t easily swallow. Pour it in gently to avoid scratching the glass. For hardscape, position driftwood and slate rocks before adding water; this lets you build stable caves and ledges. Anchoring your décor securely prevents dangerous collapses when your turtle climbs and digs, which they absolutely will. Rinse everything thoroughly to stop cloudy water.
-
Step 3: Installing Equipment (Filter, Heater)
Turtles are messy, so get a canister or power filter rated for at least twice your tank’s water volume. Place the heater near a water flow source, like the filter output, to evenly distribute warmth. I set mine to a steady 75-80°F for most common species. Always use a heater guard to prevent burns or cracks from an curious shell bump. Hide cords with organizers for a tidy, safe look.
-
Step 4: Filling and Treating Water with Dechlorinator
Place a small plate or bowl on the substrate and pour water onto it; this saves your hardscape from being demolished. Fill the tank about halfway-you’ll need space for the basking area. Then, add a water conditioner to neutralize chlorine and chloramines. Dose the dechlorinator for the total water volume, not just what you’ve added, to protect your future turtle’s sensitive skin and eyes. Let the system run for a day to check for leaks.
-
Step 5: Finalizing the Basking Area and Lights
Secure a sturdy ramp or platform so your turtle can climb completely out of the water to dry. Position a UVB light and a basking heat lamp directly over this dry zone, about 10-12 inches above it. The basking spot should hit 85-90°F. UVB light is non-negotiable-it lets turtles metabolize calcium for strong shells and bones, preventing soft shell disease. Use a timer for 10-12 hours of daily light to mimic a natural cycle.
The Silent Startup: Cycling Your Turtle Tank
Before you add your turtle, you must cycle the tank. This process grows beneficial bacteria that convert toxic waste into safer substances. Think of it like training a cleanup crew before the big game. A cycled tank is the foundation of health, stopping ammonia burns and respiratory infections before they start.
You’ll need a liquid test kit to track ammonia, nitrite, and nitrate. For a turtle tank, I dose pure ammonia to 2-3 ppm to begin the fishless cycle-turtles produce waste like tiny dinosaurs. The bacteria will first appear in your filter media and substrate. Think of this as the ammonia-based fishless cycling method in action. It builds the beneficial bacteria population before any fish or turtles go in, using measured ammonia as food. Patience here saves you heartache later; a full cycle can take 4 to 8 weeks, but rushing it risks your pet’s life.
Keep the pH around 7.0 to 8.0 for optimal bacterial growth. Regular water tests help you maintain proper parameters in your aquarium. If progress stalls, I sometimes add a bacterial starter culture from an established tank to speed things along. Once tests show zero ammonia, zero nitrite, and some nitrates below 40 ppm, your tank is ready. Keep monitoring to ensure parameters stay balanced over time. This invisible ecosystem working in harmony is what makes the water truly safe, not just clear.
Mastering Water Quality and Ongoing Maintenance
This is where your turtle tank transitions from a pretty container to a thriving, stable ecosystem. Turtles are famously messy, making your maintenance routine the single most important factor for their long-term health.
Your Water Testing Ritual
Think of testing not as a chore, but as a weekly health check-up for your water. I test every Sunday without fail. You need to track ammonia, nitrite, nitrate, and pH. For sliders and cooters, aim for a pH between 6.8 and 7.5. Knowing how to test your water properly is crucial for maintaining a healthy environment.
A sudden spike in ammonia is your first red flag that the biological filter is struggling or that you’re overfeeding. Nitrates should stay under 40 ppm to prevent shell issues and algae blooms. The smell of the water tells a story too; a clean tank has a mild, earthy scent, while a chemical tang often means trouble. Understanding essential aquarium water parameters—pH, ammonia, and nitrates—helps explain these signs. Our explainer shows safe ranges and simple tests to monitor them.
The Art of the Water Change
You cannot skip this. For a stocked turtle tank, a 25-30% water change every week is my golden rule. Here is my simple process:
- Use a siphon vacuum to clean the substrate, removing waste and old food as you remove water.
- Treat the fresh, temperature-matched tap water with a quality dechlorinator. Remember, many municipal waters now use chloramines, which standard conditioners must also neutralize.
- Gently add the new water to the tank, avoiding disturbance to your basking area and decor.
Consistent partial changes are infinitely better than infrequent, massive changes that shock your turtle and the tank’s beneficial bacteria.
Filter Maintenance Without the Crash
The biggest mistake is cleaning the filter too thoroughly. You never want to see white, ceramic rings or bio-balls. That’s your beneficial bacteria colony. Instead, follow this safe method.
- Every 2-4 weeks, rinse mechanical filter media (sponges, filter floss) in a bucket of old tank water you’ve just removed. This preserves bacteria while removing clogging debris.
- Replace chemical media (like carbon) according to the package directions, typically monthly.
- Leave biological media completely alone unless it is physically clogged, and even then, only swish it in tank water.
Stagger your filter media cleaning so you are never rinsing all your biological media at once, which safeguards your cycle from crashing.
Common Turtle Tank Mistakes and How to Avoid Them
We’ve all made mistakes; I certainly have. Learning from common pitfalls saves you stress and gives your turtle a much better life.
Overcrowding the Habitat
Turtle size is deceptive. A tiny hatchling can grow to ten inches. The standard rule is 10 gallons of water per inch of shell length, per turtle. Two eight-inch turtles need a 160-gallon tank, not a 75-gallon. Overcrowding leads to rapid water pollution, aggression, and stunted growth, a point of no return for shell development.
Inadequate or Improper Basking
A rock half-submerged in the corner isn’t a proper basking area. The dock must be completely dry, easily accessible, and heated by a dedicated basking lamp to about 90-95°F. Crucially, a separate UVB lamp must shine directly on the basking spot, no farther than 12 inches away, for 10-12 hours daily. Without UVB, turtles cannot metabolize calcium, leading to fatal Metabolic Bone Disease and soft, deformed shells.
Poor Dietary Variety
Feeding only commercial turtle pellets is like you eating only cereal. Adults need a mostly vegetarian diet. I rotate between high-quality pellets, dark leafy greens (like romaine and dandelion greens), and occasional protein treats (like thawed earthworms). Proper nutrition directly impacts water quality, as a healthy turtle produces less waste and has a stronger immune system. Juvenile turtles need more protein, but gradually shift the ratio as they grow.
FAQs
What is the biggest mistake people make when starting a turtle aquarium setup?
Underestimating the adult size of the turtle and purchasing a tank that is too small is the most common error. This leads to frequent, costly upgrades and poor water quality. Always plan for a minimum of 75-100 gallons for a single adult semi-aquatic turtle to ensure ample swimming space and stable chemistry.
Where can I find creative turtle aquarium setup ideas that are both safe and attractive?
Look to aquarium forums, reptile-focused social media groups, and dedicated pet blogs for inspiration. Many enthusiasts share designs using stackable slate for basking, PVC pipe hides, and anchored hardy plants like Java Fern. Always prioritize safety by ensuring all decorations are stable and free from sharp edges. If you’re adding decorative plants, choose hardy, beginner-friendly species and plant them securely to prevent uprooting. Live plants can also improve water quality and provide natural hiding spots for fish.
Do turtle aquarium setup kits provide everything I need for a proper habitat?
Most commercial kits are insufficient as they often include weak filters and lack essential UVB lighting. Turtles require robust filtration and specific heating and lighting that kits frequently omit. It’s generally more effective to select each component individually based on your turtle’s species and tank size.
If I see a turtle aquarium setup for sale, what key features should I verify before purchasing?
Check that the tank is appropriately sized for an adult turtle and includes a canister filter rated for at least double the water volume. Ensure the package has both a heat lamp and a separate UVB lamp for the basking area, and that the platform is sturdy. Avoid setups that compromise on these core necessities for the sake of a lower price.
Stepping into Stewardship
Your turtle’s health hinges on a spacious aquatic home with a dedicated, warm basking dock and a filtration system robust enough to manage their substantial waste. By prioritizing stable water parameters and full-spectrum lighting from day one, you build an ecosystem where your shelled friend can truly flourish.
Committing to a turtle means pledging to observe and adapt to their needs for years to come. Let your aquarium be a living lesson, and never stop exploring the fascinating details of aquatic husbandry to ensure a vibrant life for your pet.
Lia is an expert in aquarium and pet fish care. Having worked in the marine industry and having cared for multiple pet fish, she has acquired first hand expertise on aquarium care, maintenance and setup. She always brings her practical expertise and science to help solve any aquarium related queries.
Lighting Options