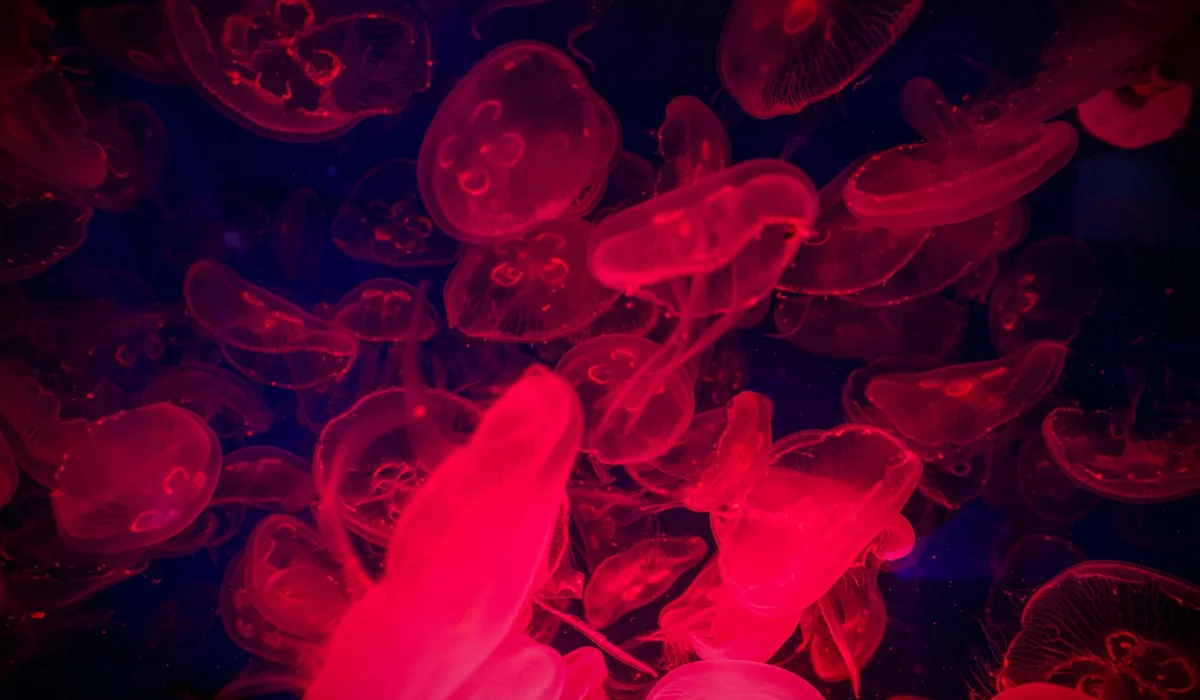
Winning the Battle: Your Guide to Removing Hard Water Stains from Glass and Acrylic Tanks
Hello fellow aquarists. You’ve seen that stubborn, cloudy film on your aquarium glass, the one that makes your crystal-clear underwater world look perpetually foggy. I know the frustration of trying to wipe it away, only to find it laughing back at you.
This guide will help you defeat those mineral deposits for good. We will cover:
The critical differences between cleaning glass versus acrylic aquariums, because using the wrong method can cause permanent damage.
Safe, effective cleaning solutions for each material, including my go-to DIY hacks that really work.
Proactive strategies to prevent hard water stains from ever forming again, saving you time and effort down the line.
I’ve been keeping high-tech planted tanks for years, and I’ve cleaned my share of stains from both glass and acrylic setups.
What Are Hard Water Stains and Why Do They Form in Your Tank?
Hard water stains are the stubborn, chalky-white or cloudy marks left on your aquarium walls after water evaporates. They are primarily composed of calcium and magnesium carbonate, the same minerals that make your water “hard.” Think of it like the ring left in a teacup, but magnified across the entire viewing pane of your tank from constant evaporation and top-offs. These deposits come from minerals in tap water that remain after evaporation. To help you understand the causes of hard water stains and to prevent them, use RO/DI or conditioned water for top-offs and regular partial water changes, and keep evaporation in check with a lid.
Identifying Calcium Deposits and Mineral Buildup
Not all cloudy glass is a hard water stain. Here is how to tell what you are dealing with:
- Hard Water Stains (Limescale): These feel rough or crusty to the touch. They do not wipe away with just a wet cloth and appear as a white, opaque film or a distinct crusty line at the water’s surface.
- Algae Film: This is typically green, brown, or slimy. It will often smear or wipe away easily with a simple algae pad.
- Biofilm: This is a greasy, iridescent sheen on the water surface or glass, not a crusty deposit on the pane itself.
A simple test is to put a few drops of plain white vinegar on the stain; if it fizzes or dissolves, you are looking at a calcium-based hard water stain.
How Hard Water Affects Your Aquarium Ecosystem
While the stains themselves are mostly an eyesore for you, the underlying hard water can influence your tank’s balance. Many popular aquarium plants and fish, like Tetras or Discus, thrive in softer, more acidic water conditions. Consistently high mineral content can slowly drive your pH up, making the environment less ideal for some of your more sensitive livestock. For species like African Cichlids, however, hard water is a perfect match for their natural habitat. To help you manage these dynamics, check out our complete guide to water hardness and alkalinity in aquariums. It explains testing, buffering, and how to tailor plans for different species.
The crusty deposits can also subtly reduce the light penetration into your tank, which might slow down plant growth over time. The good news is that the stains themselves are not toxic, so your primary mission is restoring a crystal-clear view.
Step-by-Step Guide to Cleaning Hard Water Stains from Glass Aquariums
Glass is wonderfully resilient, allowing you to use tools and techniques that would be disastrous on an acrylic tank. My personal go-to method involves items you likely already have in your kitchen. In the acrylic vs glass aquariums ultimate pros and cons showdown, we compare durability, clarity, and maintenance. That comparison helps you decide which material is right for your tank.
Gathering Your Glass-Safe Cleaning Tools
- A new, single-edge razor blade scraper (the gold standard for glass)
- White distilled vinegar or lemon juice
- A clean spray bottle
- Soft, lint-free cloths or paper towels
- A clean bucket of dechlorinated water for a final rinse
- An algae pad (for any remaining organic film)
Never use household glass cleaners, soaps, or abrasive scrub pads, as their chemical residues are lethal to fish. For a safer option, you can use diluted white vinegar to help clean tank surfaces. Rinse thoroughly and let the tank dry before refilling to keep the fish safe.
Gentle Scrubbing Techniques for Glass Tanks
- Lower the Water Level: Siphon out enough tank water to expose the stained area completely. This keeps your cleaning solution from getting diluted and protects your fish.
- Apply Your Cleaner: Liberally spray or dab the vinegar directly onto the dry glass stains. Let it sit for a minute or two to dissolve the mineral bonds.
- Scrape with Precision: Hold your razor blade at a 45-degree angle to the glass and use short, controlled strokes. Applying gentle pressure and keeping the blade flat against the glass will lift the scale without scratching the surface.
- Wipe and Rinse: Use a damp cloth to wipe away the dissolved residue. Finally, use a cloth soaked in your dechlorinated water to thoroughly rinse the area, ensuring no vinegar is left behind.
For truly stubborn, old buildup, you can make a paste from vinegar and baking soda, apply it to the stain, let it sit for ten minutes, and then scrape. The key is patience and letting the acid do the hard work for you before you even pick up the razor.
Step-by-Step Guide to Cleaning Hard Water Stains from Acrylic Aquariums
Acrylic-Safe Cleaners and Tools to Prevent Scratches
Cleaning an acrylic tank is a completely different ballgame than cleaning glass. The surface is much softer and scratches if you even look at it wrong. Your number one priority must be to prevent any abrasive contact, which means your cleaning toolkit needs a total overhaul.
You need the right tools to do the job safely. Forget everything you know about glass scrapers.
- Microfiber Cloths: Use only brand new, lint-free microfiber cloths. Any embedded grit from previous uses will act like sandpaper.
- Plastic Razor Blades: These are your best friend for stubborn mineral deposits. They are far less likely to gouge the acrylic than metal blades.
- Soft Sponges: Opt for the soft, white cellulose sponges without any abrasive scouring pads.
- Dedicated Acrylic Cleaner: A commercial polish or cleaner specifically formulated for acrylic is your safest bet for a final, streak-free shine.
Delicate Wiping Methods for Acrylic Surfaces
The technique is just as important as the tools. Rushing this process will leave you with a cloudy, scratched tank that looks worse than when you started.
Follow these steps for a pristine, scratch-free result.
- Empty and Prep: Move your fish to a safe holding tank. Empty the main tank completely and move it to a soft, padded surface like a towel on the floor.
- Initial Soak: Soak your clean microfiber cloth in a 50/50 solution of white vinegar and distilled water. Wring it out well and press it flat against the stained area for 5-10 minutes to soften the deposits.
- The Wiping Motion: Never scrub in circles. Using light pressure, wipe in a single, straight direction from top to bottom. Rinse and flip your cloth frequently to avoid dragging loosened minerals across the surface.
- Tackle Stubborn Spots: For spots that remain, use a plastic razor blade. Hold it at a 45-degree angle and use gentle, single-direction strokes. Let the blade do the work, not your muscle.
- Final Polish: After all stains are gone, use a dedicated acrylic cleaner and a fresh microfiber cloth to remove any haze or streaks and restore optical clarity.
Patience and a gentle touch will reward you with a crystal-clear view into your underwater world without any permanent damage.
Comparing DIY and Commercial Cleaners for Glass and Acrylic Tanks
Homemade Remedies: Vinegar, Lemon Juice, and Baking Soda Paste
You likely have everything you need to fight hard water stains right in your kitchen pantry. These DIY options are cheap, effective, and give you full control over what goes near your aquarium. In this complete step-by-step guide, we’ll show you how to remove hard water stains from aquariums safely and effectively. Follow along for aquarium-safe methods that restore clarity without harming your aquatic life.
White vinegar is the undisputed champion for dissolving calcium and lime scale. Its mild acidity breaks down mineral bonds on contact. A simple 1:1 mix of white vinegar and water is powerful enough for most glass stains and safe for a brief application on acrylic.
For a slightly more pleasant smell, fresh lemon juice works on the same principle. It’s a bit less potent than vinegar but still effective for light to moderate filming.
Now, baking soda is your go-to for gentle abrasion. Create a thick paste with water and gently apply it with your fingers or a soft cloth to tackle thicker, crustier deposits on glass. I would avoid using this paste on acrylic unless you are incredibly careful, as the gritty texture can cause micro-scratches.
Choosing Aquarium-Safe Commercial Products
While DIY solutions work well, commercial products are formulated for a specific purpose: to be powerful yet safe for the enclosed ecosystem of an aquarium.
When browsing the fish store aisle, look for products that are explicitly labeled as safe for aquarium use. These have been tested to ensure no toxic residues are left behind that could harm your fish or biological filter after a rinse.
For glass tanks, you have more flexibility. Look for cleaners that contain citric acid or other descaling agents. Many reef keepers use specialized kalkwasser or coralline algae removers, which are also extremely effective on standard hard water stains. These products can also help remove algae films from the glass. For best results, use a soft pad or a magnetic glass cleaner to scrub the film after application.
For acrylic, your choice is simpler but more critical. You must select a cleaner and polish made specifically for acrylic plastics to avoid chemical clouding or surface degradation. Brands like Novus are popular in the hobby for their multi-stage polishing systems that can remove fine scratches along with stains.
Always, always do a spot test in an inconspicuous area, like a top corner, with any new cleaner to see how your tank’s material reacts.
Prevention Tips to Keep Hard Water Stains from Returning
Once you’ve put in the hard work to remove those ugly white crusties, the last thing you want is for them to come right back. The absolute best way to deal with hard water stains is to stop them from forming in the first place. A little proactive care saves you from a major scrubbing session later.
Regular Maintenance and Water Change Routines
Think of your weekly tank maintenance as your primary defense against mineral buildup. Consistency is far more effective than heroic, once-in-a-blue-moon cleaning marathons.
- Wipe the glass during every water change. I keep a dedicated, brand-new algae pad in my kit. Right after I siphon out the old water, I give the front and side panels a quick, gentle wipe. This removes the invisible film of minerals before they can bake on.
- Keep your waterline consistent. Evaporation leaves minerals behind. By topping off with purified water daily or every other day, you prevent the mineral concentration at the water’s surface from skyrocketing and creating a stubborn crust ring.
- Don’t just top off-do real water changes. Topping off replaces evaporated water, but only a water change physically removes the dissolved minerals from the system. A weekly 15-25% change is your best bet for keeping overall hardness in check.
- Clean your filter and lid. Mineral spray from bubbles and filter output coats your hood and light. Wipe these down with a damp cloth monthly to prevent a dusty, crusty film.
Long-Term Strategies for Minimizing Mineral Buildup
Beyond your weekly routine, you can make some smart choices that dramatically reduce the mineral load in your tank. This is where you tackle the problem at its source.
- Use Reverse Osmosis (RO) or Deionized (DI) water. This is the gold standard. An RO/DI unit filters out almost all dissolved minerals. You can use it pure for topping off and mix it with your tap water for changes to achieve your desired hardness. My own tanks transformed once I made the switch.
- Consider water softening pillows or chemical filtration. Products like Poly-Filter or specific ion-exchange resins can be placed in your filter. They actively pull calcium and magnesium out of the water column, softening it over time.
- Add natural tannins. While it won’t solve severe hardness, driftwood and Indian Almond Leaves release tannic acid, which can slightly lower pH and bind to some minerals, slowing down the rate of scale formation. Your water will have a beautiful, clear tea-stained look.
- Choose your livestock wisely. If you have extremely hard tap water, embrace it! Stock your tank with fish that thrive in those conditions, like African Cichlids or Livebearers (Guppies, Mollies, Platies). They are adapted to hard water, and you’ll spend less time fighting your water chemistry.
FAQs
Why do hard water stains sometimes appear brown on plant leaves?
Hard water stains are usually white, but they can turn brown when mineral deposits mix with organic debris like tannins from decaying leaves or algae. This discoloration often occurs in planted tanks where minerals accumulate on surfaces. Regular maintenance and wiping leaves gently can help prevent this buildup.
What is an aquarium hard water conditioner and how does it work?
An aquarium hard water conditioner is a chemical treatment that reduces water hardness by binding to calcium and magnesium ions. It is ideal for aquarists with high-mineral tap water who need to soften the environment for sensitive species. Use it during water changes according to the product label to avoid shocking your fish or filter bacteria.
Are there specific commercial stain removers safe for aquariums?
Yes, many commercial stain removers are formulated to be aquarium-safe, using ingredients like citric acid to dissolve mineral deposits without toxic residues. These products are designed to rinse away cleanly after application, protecting your fish and plants. These cleaners can be part of a regular aquarium cleaning maintenance routine. Pair them with routine siphoning, water changes, and glass cleaning to keep your tank sparkling safely. Always verify that the remover is compatible with your tank material—glass or acrylic—before use.
How can I test the water hardness in my aquarium?
You can test water hardness with an aquarium-specific test kit that measures General Hardness (GH) and Carbonate Hardness (KH). These kits typically involve adding drops to a water sample and comparing the color change to a chart. Regular testing helps you monitor mineral levels and adjust your maintenance routine to prevent stains and support healthy aquatic life.
Crystal Clear Care for Your Aquarium
Always use gentle, non-abrasive methods like vinegar for glass and specialized acrylic cleaners to avoid scratches. Use soft microfiber cloths or non-abrasive scrubbers and avoid harsh scrubbing to prevent scratches during cleaning. Choosing the right approach based on your tank material prevents damage and keeps your view unobstructed.
Staying proactive with maintenance supports a healthy environment for your fish. Regularly performing essential maintenance tasks at the right frequency helps prevent issues. Knowing the frequency for each task keeps your tank running smoothly. Embrace ongoing learning about aquarium care to build a thriving, beautiful underwater world.
Further Reading & Sources
- What are my options to remove hard water stains in active tank? | Reef2Reef
- r/Aquariums on Reddit: Impossible to remove hard water stains on fish tank
- How To Remove Hard Water Stains From Fish Tanks – Cuteness
- How to Remove & Prevent White Residue on Aquarium Glass
- Hard Water Stains | Cleaning and Maintenance Forum
Lia is an expert in aquarium and pet fish care. Having worked in the marine industry and having cared for multiple pet fish, she has acquired first hand expertise on aquarium care, maintenance and setup. She always brings her practical expertise and science to help solve any aquarium related queries.
Regular Cleaning