Essential Water Testing Equipment for Maintaining Healthy Aquarium Parameters
Hello fellow fish keepers! Have you ever stared into your tank, wondering if the water your finned friends call home is truly safe? I’ve been there too, and the truth is, crystal clear water can sometimes hide invisible dangers.
This guide will help you build your perfect testing toolkit by covering:
The pros and cons of liquid test kits versus test strips, must-have electronic meters for precise readings, the specific tests you need for different types of aquariums, and how to create a simple, effective testing schedule.
I’ve fine-tuned my testing routine over years of running high-tech planted tanks and breeding sensitive fish.
Understanding Aquarium Water Testing Equipment
Think of your test kit as your aquarium’s personal doctor’s bag. It gives you a clear look into the invisible world of your water chemistry. Without it, you’re just guessing about the health of your fish, and in this hobby, guesses can be costly. You have a few main types of tools at your disposal, each with its own pros and cons. Essential aquarium water testing kits are the practical tool—use them regularly to monitor water quality. Regular testing helps you catch problems early and keep your tank healthy.
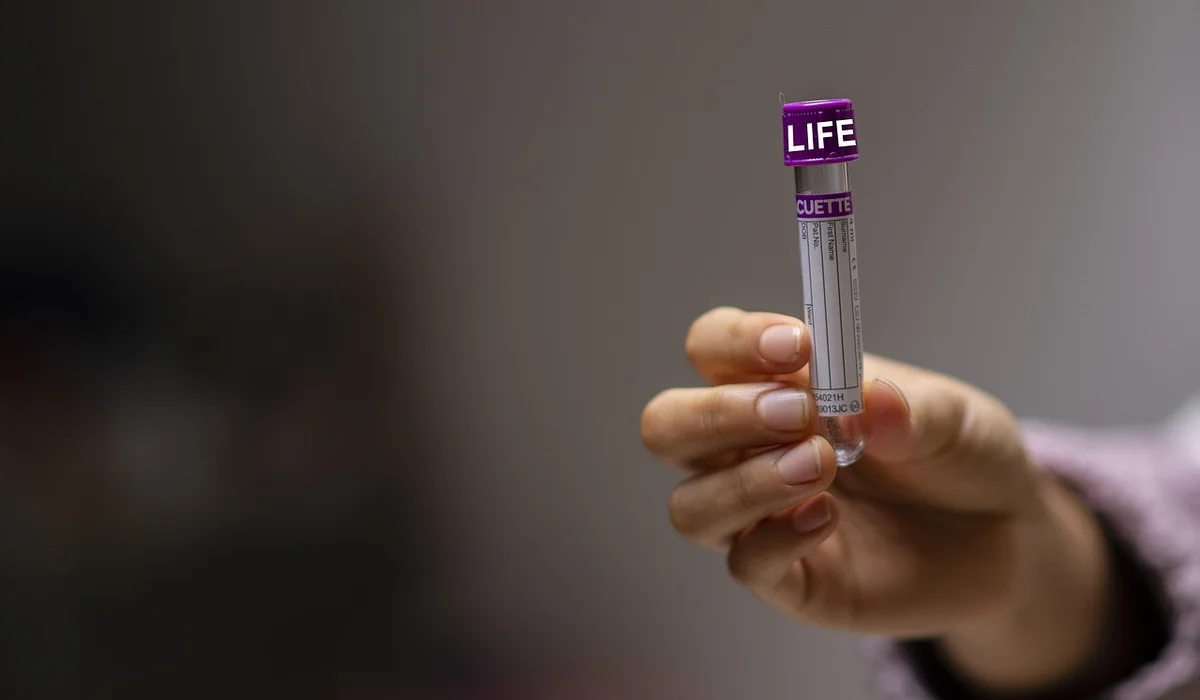
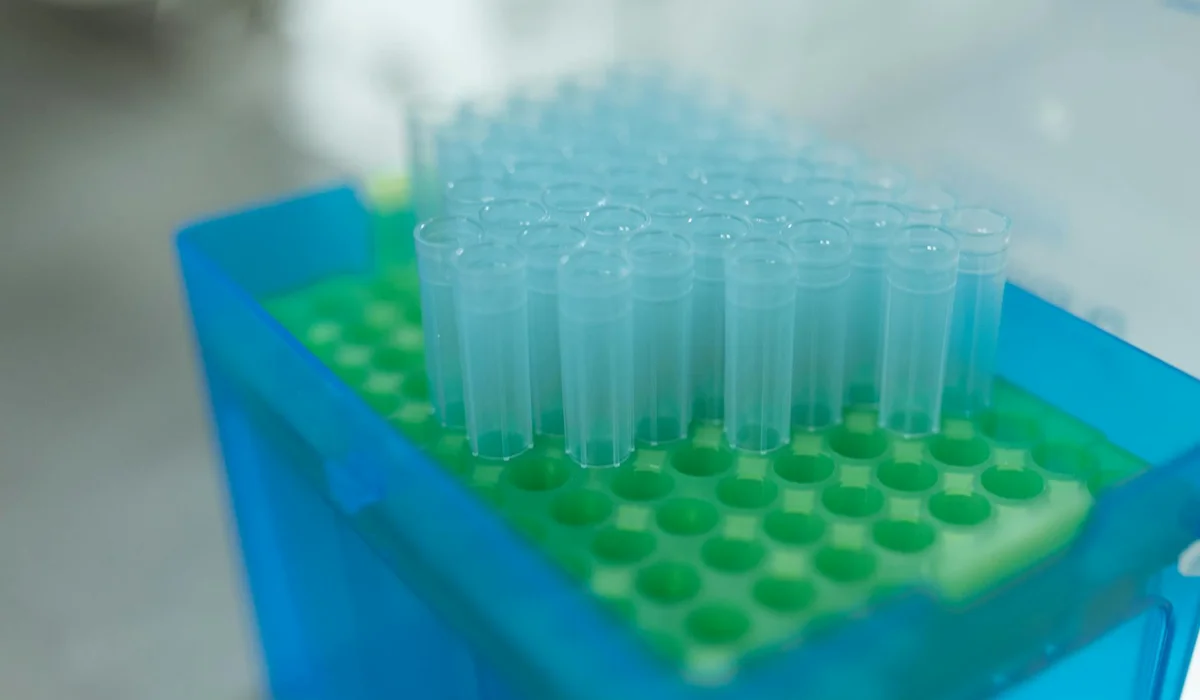
Liquid Test Kits
These are the workhorses for most serious aquarists. You fill a small test tube with tank water, add drops of specific reagents, and watch for a color change. I use these almost exclusively for my core parameters. The precision you get from a liquid test far surpasses test strips, especially for critical readings like ammonia and nitrite. The process feels a bit like a science experiment, and that satisfying click of the dropper bottle means you’re getting reliable data.
Test Strips
Test strips are the quick and easy option. You just dip a strip into the water, wait a minute, and compare the colored pads to a chart. They’re fantastic for a fast check-in, but they have drawbacks. While incredibly convenient, test strips can be less accurate and are more susceptible to moisture damage, which ruins their reliability. I keep a jar for quick GH and KH checks, but I never rely on them for my cycle monitoring.
Electronic Meters
For parameters like pH and TDS (Total Dissolved Solids), digital pens offer the highest level of accuracy. They provide a precise numerical readout on a screen. An electronic pH meter is a game-changer for breeders and shrimp keepers who need to maintain extremely stable conditions. The initial cost is higher and they require calibration, but the speed and clarity are unmatched.
The Core Tests Every Aquarist Needs
You don’t need to test for every element on the periodic table. Focus on these six fundamental parameters that directly impact fish health and biological balance. Mastering these six tests is the single most effective thing you can do to prevent tank disasters. This is the foundation of proactive, rather than reactive, fish keeping.
1. Ammonia (NH3)
Ammonia is the first and most toxic waste product in your tank. It comes from fish waste, uneaten food, and decaying plant matter.
- Ideal Level: 0 ppm (parts per million). Any reading above zero is a cause for concern.
- Why it Matters: It burns fish gills and suffocates them, leading to rapid health decline.
- My Advice: This is your emergency siren. Test for ammonia anytime a fish seems stressed or during a new tank’s break-in period.
Your ammonia test results tell you exactly what to do next. If the reading is above 0 ppm, act quickly to dilute the toxin and safeguard your fish.
2. Nitrite (NO2)
As beneficial bacteria start processing ammonia, they convert it into nitrite. This is the second stage of the nitrogen cycle.
3. Nitrate (NO3)
Nitrate is the final product of the nitrogen cycle. It is far less toxic, but it accumulates over time.
- Ideal Level: Below 20 ppm for fish-only tanks; below 10 ppm for planted or shrimp tanks.
- Why it Matters: High nitrate causes chronic stress, stunts growth, and fuels massive algae blooms.
- My Advice: Your nitrate reading is your best indicator for when to do a water change. Seeing it creep up? Time for a partial water change.
These readings are part of the essential aquarium water parameters, including pH and ammonia. Together with nitrate, they explain the tank’s overall balance and guide maintenance decisions.
4. pH
This measures how acidic or alkaline your water is. It’s not a single number to fight for, but a stability to maintain.
- Ideal Level: Varies by fish. Most community fish thrive between 6.5 and 7.5.
- Why it Matters: Sudden pH swings are more dangerous than a stable, slightly “wrong” pH. It affects fish metabolism and internal organs.
- My Advice: Test your tap water’s pH after letting it sit for 24 hours. This tells you your baseline. A stable pH is always better than a perfect but fluctuating one.
5. General Hardness (GH)
GH measures the dissolved calcium and magnesium in your water. Think of it as bone and shell water.
- Ideal Level: Soft water fish (like tetras) prefer 3-8 dGH. Hard water fish (like livebearers) need 12+ dGH.
- Why it Matters: Critical for molting (shrimp and snails), egg development, and overall fish osmoregulation.
- My Advice: If you’re struggling to keep shrimp alive, test your GH first. It’s often the missing piece of the puzzle.
6. Carbonate Hardness (KH)
KH is your water’s buffering capacity. It measures carbonates and bicarbonates that stabilize your pH.
- Ideal Level: A KH of 4-8 dKH is a great buffer for most community tanks.
- My Advice: If your pH is constantly dropping, check your KH. It’s likely too low, and adding a little crushed coral to your filter can solve it.
Why it Matters: KH is your pH’s bodyguard. Low KH leads to pH crashes, which can be deadly overnight.
How to Use Your Water Testing Kit Correctly
Getting an accurate reading is everything. Think of it like baking; if you don’t measure your ingredients precisely, the cake falls flat. Your fish’s health is that cake. I always work on a clean, dry surface with good lighting so I can spot subtle color changes.
Follow the instructions to the letter, especially the timing and the number of drops-this is not a step you can eyeball. Rushing the process is the most common mistake I see, and it leads to false readings that can send you on a wild goose chase.
Mastering Liquid Test Kits
Liquid kits, like the API Freshwater Master Test Kit, are my go-to for precision. Here is my exact process:
- Rinse the test tube and cap thoroughly with tap water, then give it a final rinse with a bit of your aquarium water.
- Fill to the line with water from the middle of your tank, not the surface.
- Add the drops, holding the bottle straight up and down for consistent size. Tap the bottom on the table to clear air bubbles from the tip.
- Cap the tube and invert it gently. I never shake ammonia or nitrate tests violently, as that can cause foam and throw off the color.
- Set a timer. Place the tube on the white part of the card with natural light behind you, not direct sun. Look down through the top for the truest color match.
Getting the Most from Test Strips
Strips are fantastic for a quick check, but technique still matters. Dip and remove immediately. Do not swirl it around.
Hold the strip level, not upright, to prevent chemicals from one pad running into another and contaminating the results. Tap it gently on the rim of the bottle to remove excess water and start your timer right away.
I keep a dedicated notebook. Jotting down the date, results, and any recent tank changes creates a valuable history. Seeing a slow nitrate creep over weeks lets you act before it becomes a crisis for fish like Shadow.
When and How Often to Test Your Aquarium Water
Timing your tests is just as critical as the tests themselves. You’re looking for patterns and trends, not just a single snapshot. The hum of the filter might be constant, but your water chemistry is always in a slow, silent dance.
Testing During the Tank Cycle and New Setups
This is your most intensive testing phase. You are building the biological foundation for your entire tank. For a fish-in cycle, I test every single day without fail.
During a cycle, you are watching for the ammonia to spike and then fall to zero, followed by a nitrite spike and fall, while your nitrates slowly begin to rise. This is the signal that your filter is colonizing the good bacteria. It’s a stressful time for fish like Captain Fin, so frequent testing is non-negotiable.
For a new fishless cycle, you can test every other day. After adding your first fish to a cycled tank, test daily for the first week to ensure the bio-filter can handle the new load.
Routine Monitoring for Established Tanks
Once your tank is stable and has been running smoothly for a few months, you can relax a bit. For a well-established community tank, a weekly test is my golden rule.
I always test right before my weekly water change. This tells me exactly how much nitrate has built up and helps me decide if a 25% or a 50% change is needed. For my tank with Goldie, the nitrate producer, this is vital.
Make it a ritual, like every Sunday morning with your coffee. Consistency catches small problems before they become big ones. Of course, test immediately any time you see odd fish behavior, after a fish passes away, or when adding new medications.
If you are battling an algae bloom or a persistent illness, ramp up testing to every other day. Sometimes the clearest water can hide a parameter that’s just slightly off, stressing your fish and feeding the problem.
Decoding Your Test Results: What the Numbers Mean
Seeing numbers on a test tube can feel like reading a foreign language, but I promise it gets easier with practice. Your test results tell the story of your tank’s health, and learning to read them is your superpower for preventing fish stress and disease. Let’s break down the key parameters you’ll encounter.
Ammonia and Nitrite: The Silent Threats
Ammonia comes from fish waste and uneaten food, and it’s highly toxic even in tiny amounts. For any aquarium, your ammonia level should always be at 0 ppm-anything higher signals an incomplete nitrogen cycle or overfeeding. I learned this the hard way when Shadow, my corydoras, started hiding more after a spike; it took quick water changes to bring it back to safe levels.
Nitrite is the next step in the cycle, and it’s just as dangerous by interfering with oxygen in your fish’s blood. Aim for 0 ppm nitrite; if it’s detectable, your beneficial bacteria are still building up, and you need to avoid adding new fish immediately. Test weekly, especially in new tanks, to catch spikes early.
Nitrate: The Plant Food and Pollutant
Nitrate is less toxic but can cause algae blooms and fish stress if it climbs too high. Keep nitrates below 20 ppm for most community tanks, though goldfish like Goldie prefer it under 10 ppm to thrive. Regular water changes are your best friend here—I do 25% weekly to control it without shocking the ecosystem. The causes of high nitrate levels usually come from fish waste, uneaten food, and decaying plants. To control them, limit feeding, vacuum the substrate, and maintain consistent water changes.
pH, GH, and KH: The Water Stability Trio
pH measures how acidic or basic your water is, and it affects how fish breathe and process nutrients. Most tropical fish, such as bettas like Captain Fin, do best in a pH of 6.5 to 7.5, but always research your specific species’ needs. Sudden pH swings are more harmful than a slightly off number, so stability is key. Understanding the pH in your aquarium helps maintain a healthy environment for your fish.
General Hardness (GH) refers to minerals like calcium and magnesium, which influence fish scales and egg development. Soft water fish, including many tetras, prefer a GH of 4-8 dGH, while livebearers like guppies need 10-15 dGH for strong bones. Are ideal water parameters different for different fish? Yes—water parameters differ by species, so tailor your setup to your fish. Test your tap water to know what you’re starting with.
Carbonate Hardness (KH) acts as a pH buffer, preventing crashes that can harm your bio-filter. Aim for a KH of 4-8 dKH to maintain stability; if it drops, add crushed coral to naturally boost it over time. I check KH monthly in my planted tank to avoid surprises during filter cleanings.
- Ammonia: 0 ppm ideal; toxic above 0.25 ppm.
- Nitrite: 0 ppm safe; any reading requires action.
- Nitrate: 5-20 ppm acceptable; over 40 ppm risky.
- pH: 6.5-7.5 for most; adjust slowly if needed.
- GH: 4-15 dGH depending on fish species.
- KH: 4-8 dKH to lock in pH stability.
Liquid Test Kits vs. Test Strips: Which Is Better for You?
Choosing between liquid kits and test strips often comes down to your experience level and how much detail you need. Liquid test kits use chemical reagents for precise readings, while strips offer quick dips that are handy for fast checks. I’ve used both over the years, and each has its place in a fish keeper’s toolkit.
Liquid Test Kits: The Gold Standard for Accuracy
These kits involve adding drops of solution to water samples and comparing colors to a chart. Liquid tests are incredibly accurate for critical parameters like ammonia and nitrite, giving you peace of mind when cycling a new tank. They do take more time-about 5-10 minutes per test-but the reliability is worth it for sensitive fish.
- Pros: High precision, longer shelf life, cost-effective per test.
- Cons: More steps involved, can be messy, higher upfront cost.
I rely on liquid kits for my goldfish Goldie’s tank because even small nitrate changes affect her health. For beginners, start with a master liquid kit to build confidence in reading results accurately.
Test Strips: The Speedy Alternative
Strips are dipped into the water and read within seconds, making them great for routine monitoring. Test strips are budget-friendly and easy for quick scans, but they can be less reliable for exact numbers, especially with expired batches. I keep strips on hand for a fast pH check before water changes in my betta tank.
- Pros: Fast and convenient, inexpensive, good for general trends.
- Cons: Lower accuracy, susceptible to moisture damage, limited parameter range.
If you’re new to fish keeping, strips can help you get into the habit of testing weekly. Just remember that for diagnosing problems, liquid tests provide the clarity you need to make informed decisions. Over time, you might blend both-using strips for daily glances and liquids for deep cleanings.
| Feature | Liquid Test Kits | Test Strips |
|---|---|---|
| Accuracy | High | Moderate |
| Time per Test | 5-10 minutes | 30-60 seconds |
| Cost Over Time | Lower per test | Higher per test |
| Best For | Critical monitoring, new tanks | Routine checks, beginners |
Your choice depends on your tank’s needs and your schedule. If you have delicate species or a heavily stocked tank, invest in a liquid kit; for low-maintenance setups, strips might suffice with occasional verification. Either way, testing regularly is what keeps your aquatic friends happy and healthy.
Maintaining and Calibrating Your Testing Equipment
Keeping your test kits in top shape is just as vital as using them regularly. Proper maintenance prevents false readings that could put fish like Captain Fin at risk from unseen water shifts.
Start by storing liquid test kits in a cool, dark place away from direct sunlight. Heat and light can degrade reagents, leading to inaccurate color changes when you test.
Always rinse test vials with distilled or reverse osmosis water after each use. Tap water residues might contaminate samples and skew your pH or ammonia results over time.
Check expiration dates on all test bottles and strips every few months. Old chemicals lose potency and won’t give you the true picture of your tank’s health.
For calibration, focus on digital devices like pH pens, which need periodic adjustment. I recalibrate my digital meter monthly using fresh calibration solutions to ensure Goldie’s environment stays stable.
Follow these simple steps to calibrate a digital tester:
- Turn on the device and immerse the probe in the first calibration solution.
- Wait for the reading to stabilize, then adjust to the known value per the manual.
- Rinse with distilled water and repeat with the second solution for a two-point calibration.
Keep a log of maintenance dates and any issues you notice. This habit helps you spot trends and catch problems before they affect shy bottom dwellers like Shadow.
Are Digital Testers Worth the Investment?
Digital testers offer speed and precision, but they come with a higher upfront cost. For busy aquarists, a digital pH or TDS meter can save time and reduce the guesswork of color matching.
I use a digital pH tester in my betta tank because Captain Fin reacts quickly to slight acidity changes. The instant digital readout lets me act fast instead of squinting at color charts.
Consider these advantages of digital testers:
- They provide numerical results that are easy to track over time.
- Many models store data, helping you monitor long-term trends in water quality.
- They reduce human error in reading subtle color variations.
However, digital options have downsides too. Battery failure or probe drift can leave you without reliable data if you skip calibration.
Digital testers excel for parameters like pH and TDS, but liquid kits might still be better for ammonia or nitrite. In my experience, combining a digital pH meter with liquid tests for others gives the most accurate overall view.
Weigh your budget and needs-if you value convenience and consistency, investing in a digital tester could be a smart move. Just remember that no tool replaces regular observation of your fish’s behavior and water clarity.
Common Questions
Why is ammonia testing important in new tanks?
Ammonia is the first and most toxic byproduct of the nitrogen cycle, produced by fish waste and decomposing matter. In a new, uncycled tank, the beneficial bacterial colony is not yet established to process this ammonia. Learning how to cycle your new aquarium is essential for safely establishing that bacterial colony. This cycle explanation shows how ammonia becomes nitrite and then nitrate, and why testing and water changes matter. Regular testing allows you to monitor these dangerous levels and perform necessary water changes to protect your fish from poisoning.
How do you calibrate a pH meter in an aquarium?
Calibrating a digital pH meter ensures its readings remain accurate over time. You will need fresh calibration solutions, typically with pH values of 7.0 and 10.0 or 4.0. Immerse the meter’s probe in the first solution, wait for the reading to stabilize, and then adjust the meter to match the solution’s known pH value before repeating the process with the second solution.
What maintenance is needed for aquarium test equipment?
Proper maintenance is crucial for obtaining reliable results. Always clean test tubes with distilled or reverse osmosis water after use to prevent contamination. Store liquid test kits and strips in a cool, dark, and dry place, and be sure to check expiration dates regularly, as old reagents and strips will provide inaccurate readings.
Are digital test meters worth it compared to test strips?
Digital test meters offer superior precision and eliminate the guesswork of color matching, making them ideal for parameters like pH and TDS where stability is critical. While they have a higher initial cost and require periodic calibration, their accuracy and ease of use can be a worthwhile investment for serious hobbyists, breeders, or those managing sensitive species.
Keeping Your Water World in Check
The single most important piece of advice is to make a reliable test kit the heart of your maintenance routine. By testing your water weekly, you’ll spot problems long before they become emergencies, turning murky guesswork into clear action.
View each test result as a new chapter in the ongoing story of your tank’s health, a direct reflection of your care. Your commitment to learning and adapting is what transforms a simple glass box into a thriving, living ecosystem for your aquatic pets.
Further Reading & Sources
- Water Testing Kits for Aquariums | Saltwater Testers & Analyzers – Top Shelf Aquatics
- Aquarium Testing Equipment | Hanna Instruments
- Individual Test Kits – Aquarium & Aquaculture – Products
- Aquarium Water Test Kits – Water Quality Testers | PetSmart
- Aquarium Test Kits | Amazon.com
Lia is an expert in aquarium and pet fish care. Having worked in the marine industry and having cared for multiple pet fish, she has acquired first hand expertise on aquarium care, maintenance and setup. She always brings her practical expertise and science to help solve any aquarium related queries.
Water Quality